Is your 2017 Honda Accord’s headlight bulb flickering or completely out? Driving without proper lighting is not only unsafe but also illegal in many places.
The good news is, changing the headlight bulb yourself is easier than you think. In this guide, you’ll learn step-by-step how to replace your headlight bulb quickly and without stress. Keep reading to save time, avoid costly repairs, and get back on the road with bright, clear headlights.
Tools Needed
Before you start changing the headlight bulb on your 2017 Honda Accord, gathering the right tools is essential. Having everything ready saves time and prevents frustration during the process. You don’t want to find yourself halfway through the job only to realize you’re missing a crucial tool.
Many people underestimate the simplicity of this task because they think specialized tools are needed. In reality, most of the tools required are basic and probably already in your home or car toolkit. Let’s look at what you need to make this job smooth and efficient.
Basic Hand Tools
- Phillips Screwdriver:Useful for removing screws securing the headlight assembly or covers.
- Flathead Screwdriver:Helps to pry off clips or covers without damaging plastic parts.
- Socket Wrench Set:A 10mm socket usually fits the bolts on the headlight housing of the 2017 Honda Accord.
Having these on hand means you won’t struggle with stuck screws or bolts. I once tried replacing a bulb without the right socket wrench and wasted 30 minutes trying to force a bolt loose with pliers. Don’t make that mistake.
Replacement Bulb
- Correct Bulb Type:For a 2017 Honda Accord, the low beam typically uses an H11 bulb. Double-check your owner’s manual to confirm.
- Quality Matters:Choose a bulb from a reputable brand to ensure brightness and longevity.
Imagine going through all the effort only to have the new bulb burn out within days. Investing in a quality bulb makes your effort worthwhile.
Protective Gloves
- Latex or Nitrile Gloves:Prevent oils from your skin from touching the bulb, which can cause it to burn out prematurely.
- Comfortable Fit:Gloves should allow you to handle small parts easily without slipping.
When I skipped gloves once, the bulb flickered shortly after installation. That small step protects your new bulb and can save you from repeating the process sooner than expected.
Additional Helpful Items
- Clean Cloth or Towel:Keeps the area around the headlight clean and free of debris.
- Flashlight:Helps you see better inside the engine bay, especially if you are working in low light.
- Zip Ties or Tape:Handy for securing any loose wires or parts you may encounter.
Have you ever tried working under dim light? It slows everything down and increases mistakes. A simple flashlight can make a big difference in your efficiency.
Preparing Your Vehicle
Preparing your 2017 Honda Accord for a headlight bulb change is essential for a smooth process. Taking time to ready your vehicle ensures safety and easier access to the headlight area. This preparation helps avoid damage and saves effort during the bulb replacement.
Ensure Safety
Start with turning off the engine and removing the key. Let the car cool down to avoid burns from hot parts. Disconnect the battery to prevent electric shock. Wear gloves to protect your hands and keep the bulb clean. Work in a well-lit area for clear visibility.
Accessing The Headlight Area
Open the hood by pulling the release lever inside the car. Secure the hood with the prop rod. Locate the back of the headlight assembly. Clear any objects or covers blocking access. Use a flashlight if needed to see tight spaces clearly.
Removing The Old Bulb
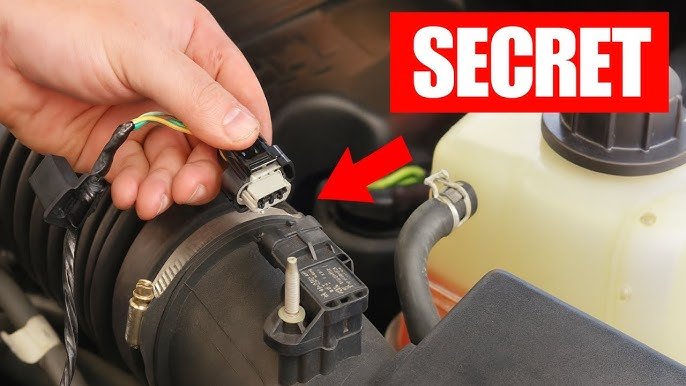
Disconnect the power connector from the old headlight bulb carefully. Turn the bulb counterclockwise and pull it out gently from the socket. Avoid touching the glass part to prevent damage.
Removing the old headlight bulb from your 2017 Honda Accord is a straightforward task. This process ensures your vehicle's lighting system remains in top condition. Follow these simple steps to safely remove the old bulb.
Locate The Bulb
First, open the hood of your Honda Accord. Look for the back of the headlight assembly. It is usually located near the front grill. Make sure the engine is off and the headlights are cool. This prevents any burns or injuries.
Disconnect Wiring
Next, identify the wiring connector attached to the bulb. Gently press the clip on the connector to release it. Carefully pull the connector away from the bulb. Avoid yanking to prevent damage to the wires.
Remove The Bulb
Now, locate the retaining clip or cover holding the bulb. Turn it counterclockwise to loosen and remove it. Carefully take out the old bulb from the socket. Keep the bulb upright to avoid breaking it. Dispose of the old bulb properly. Use a cloth or gloves to handle the new bulb, avoiding oil from your hands.
Credit: www.driveaccord.net
Installing The New Bulb
Installing the new bulb in your 2017 Honda Accord is a simple task. It requires care and attention to avoid damage. Follow these steps to place the bulb correctly and safely.
Handle The Bulb Properly
Hold the new bulb by its base, not the glass. Oils from your fingers can shorten the bulb’s life. Use a clean cloth or gloves to avoid touching the glass. This keeps the bulb clean and working longer.
Insert The New Bulb
Align the bulb with the socket carefully. Push it straight in without forcing. Make sure it fits snugly and locks into place. A loose bulb can cause poor lighting or fall out.
Reconnect Wiring
Attach the wiring harness to the bulb’s connector. Ensure the connection is secure and clicks into place. Loose wiring can cause flickering or no light at all.
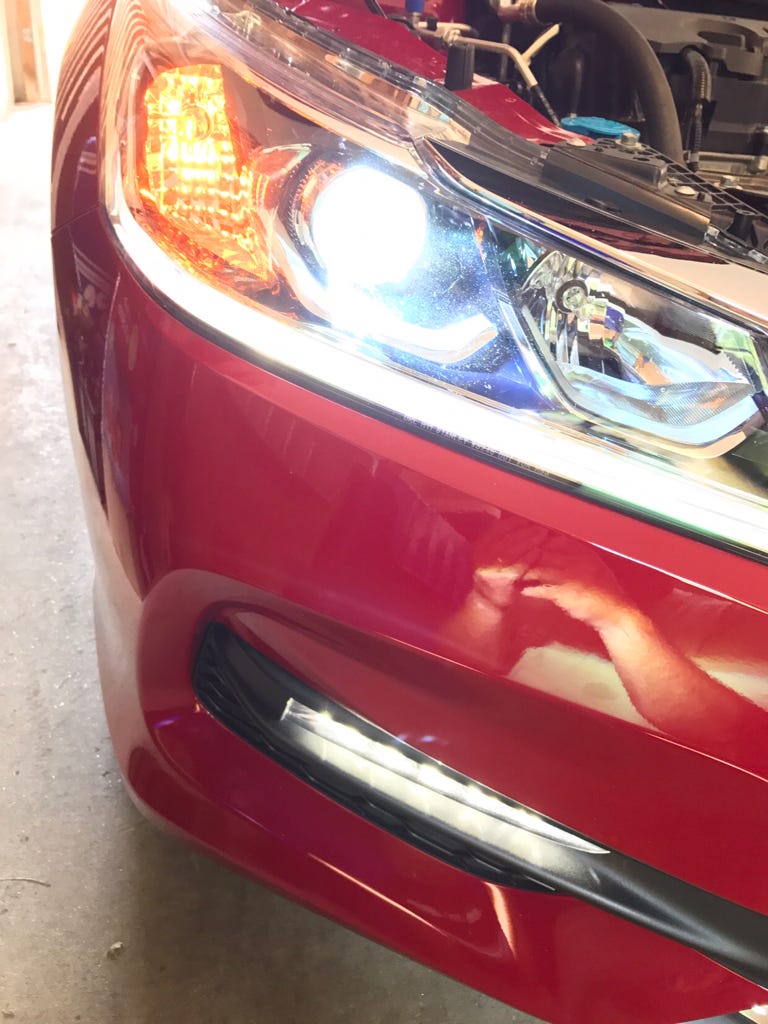
Testing The Headlight
After installing the new headlight bulb in your 2017 Honda Accord, it’s crucial to test it to ensure everything works correctly. Testing helps you catch any issues early, saving you time and frustration later. It also guarantees your safety on the road by confirming your headlights shine brightly and consistently.
Turn On The Headlights
Start by sitting in the driver’s seat and switching on your headlights. Use the headlight control switch located on the left side of the steering wheel. Make sure to turn on both the low beam and high beam settings to check the bulb’s full range of function.
Check For Proper Function
Step out of your car and observe the new bulb. Look for a steady, bright light without flickering or dimming. If the light is weak or not turning on, check the bulb connection or the fuse. Also, confirm the beam is aligned properly, so you’re not blinding other drivers or reducing your own visibility.

Credit: www.amazon.com
Tips For Bulb Maintenance
Maintaining your 2017 Honda Accord’s headlight bulbs goes beyond just replacing them when they burn out. Proper care can extend their life and keep your visibility clear on the road. Here are some practical tips to help you maintain your bulbs effectively.
Avoid Touching Glass
Have you ever noticed how your headlights sometimes fail shortly after replacement? This often happens because of oil or dirt from your fingers left on the bulb glass. Always handle new bulbs by their base or use a clean cloth or gloves to keep the glass spotless.
Oils from your skin cause hot spots on the bulb, leading to uneven heating and premature failure. Protect your investment by being mindful during installation. This small step saves you the hassle of frequent replacements.
Regular Inspection
Checking your headlights regularly helps you catch issues before they become serious. Look for signs like dimming light, flickering, or discoloration. These can indicate the need for cleaning or early bulb replacement.
Make it a habit to inspect your headlights every few weeks. Clean off dirt and moisture from the lenses to improve light output. Have you checked your headlights today?
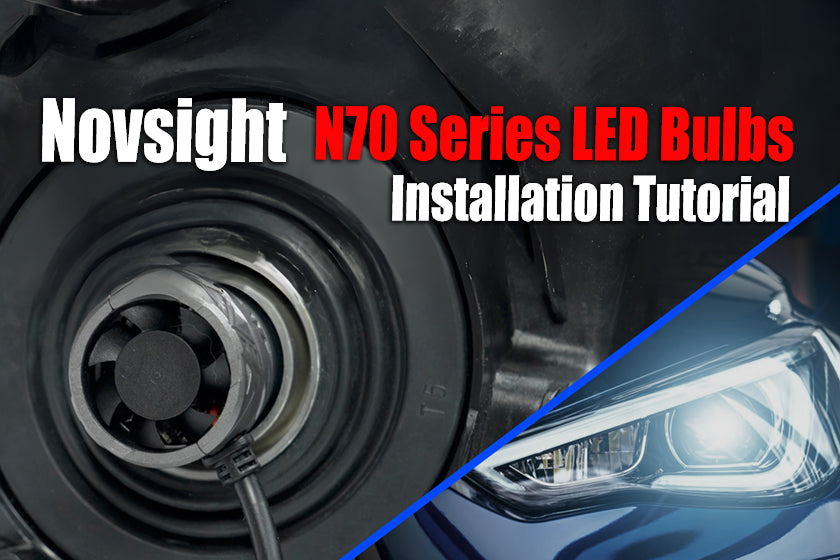
Credit: www.novsights.com
Frequently Asked Questions
How Do I Change A Headlight Bulb On A 2017 Honda Accord?
To change the bulb, open the hood and locate the headlight assembly. Remove the dust cover, disconnect the wiring, and twist out the old bulb. Insert the new bulb, reconnect wiring, replace the cover, and test the light.
What Type Of Bulb Fits A 2017 Honda Accord?
The 2017 Honda Accord uses an H11 halogen bulb for low beams. High beams typically use a 9005 bulb. Always check your owner's manual to confirm the exact bulb type before purchasing.
How Long Does It Take To Replace A Headlight Bulb?
Replacing a headlight bulb on a 2017 Honda Accord usually takes 10 to 15 minutes. This quick task requires basic tools and no special skills, making it easy to do at home.
Can I Replace The Headlight Bulb Without Removing The Bumper?
Yes, you can replace the headlight bulb without removing the bumper on a 2017 Honda Accord. Access is available from under the hood by removing the dust cover on the headlight assembly.
Conclusion
Changing the headlight bulb on a 2017 Honda Accord is simple and quick. You only need basic tools and a little patience. Follow the steps carefully to avoid mistakes. Bright headlights help you see better and drive safely at night.
Regular checks keep your car in good shape. Take your time and do the job right. Now, your car shines bright and keeps you safe on the road. Easy and done!