Your Harley Davidson runs best when every part works smoothly—especially the air filter. A clean air filter means better performance, improved fuel efficiency, and a longer engine life.
But how do you clean it properly without causing damage? If you want to keep your ride in top shape and avoid costly repairs, this guide will show you exactly how to clean your Harley Davidson air filter step-by-step. Stick with me, and you’ll have your bike breathing easy in no time.
Credit: www.harley-davidsonforums.com
Signs Of A Dirty Air Filter
Recognizing the signs of a dirty air filter on your Harley Davidson is essential to keep your bike running smoothly. A clogged filter restricts airflow, which can affect performance in ways you might not immediately connect to the air filter. Paying attention to these warning signs can save you from costly repairs and enhance your riding experience.
Reduced Engine Power
You might notice your Harley feels sluggish or less responsive, especially when accelerating. This drop in engine power happens because a dirty air filter chokes the airflow, limiting the oxygen needed for combustion. Have you ever felt your bike hesitating on the open road? That hesitation often points directly to an airflow issue caused by a dirty filter.
Decreased Fuel Efficiency
If you’re filling up more often than usual, your air filter might be the culprit. When the filter is clogged, the engine compensates by burning more fuel to maintain power. This inefficiency not only costs you more money but also increases emissions. Tracking your mileage can reveal subtle drops in fuel economy before bigger problems arise.
Unusual Engine Sounds
Strange noises like coughing, popping, or sputtering can signal a dirty air filter. These sounds occur because the engine struggles to get enough air, causing inconsistent combustion. Listen closely during your rides—any odd engine sounds are a red flag that your air intake needs attention.

Credit: collegeofems.com
Tools And Materials Needed
Cleaning a Harley Davidson air filter requires specific tools and materials. Having the right supplies makes the job easier and more effective. Prepare everything before starting to save time and avoid interruptions.
Cleaning Solution
Use a cleaner designed for air filters. Avoid harsh chemicals that can damage the filter material. A mild soap or specialized air filter cleaner works best. It removes dirt without harming the filter fibers.
Protective Gear
Wear gloves to protect your hands from dirt and cleaning agents. Safety glasses shield your eyes from splashes. Use a mask if working with strong cleaning solutions to avoid inhaling fumes. Proper gear keeps you safe during cleaning.
Basic Tools
- Screwdrivers to remove the air filter cover.
- A soft brush to gently clean the filter surface.
- A clean cloth or towel to dry the filter after washing.
- A container or bucket to soak the filter in the cleaning solution.
Having these tools ready helps you clean the air filter efficiently and thoroughly.
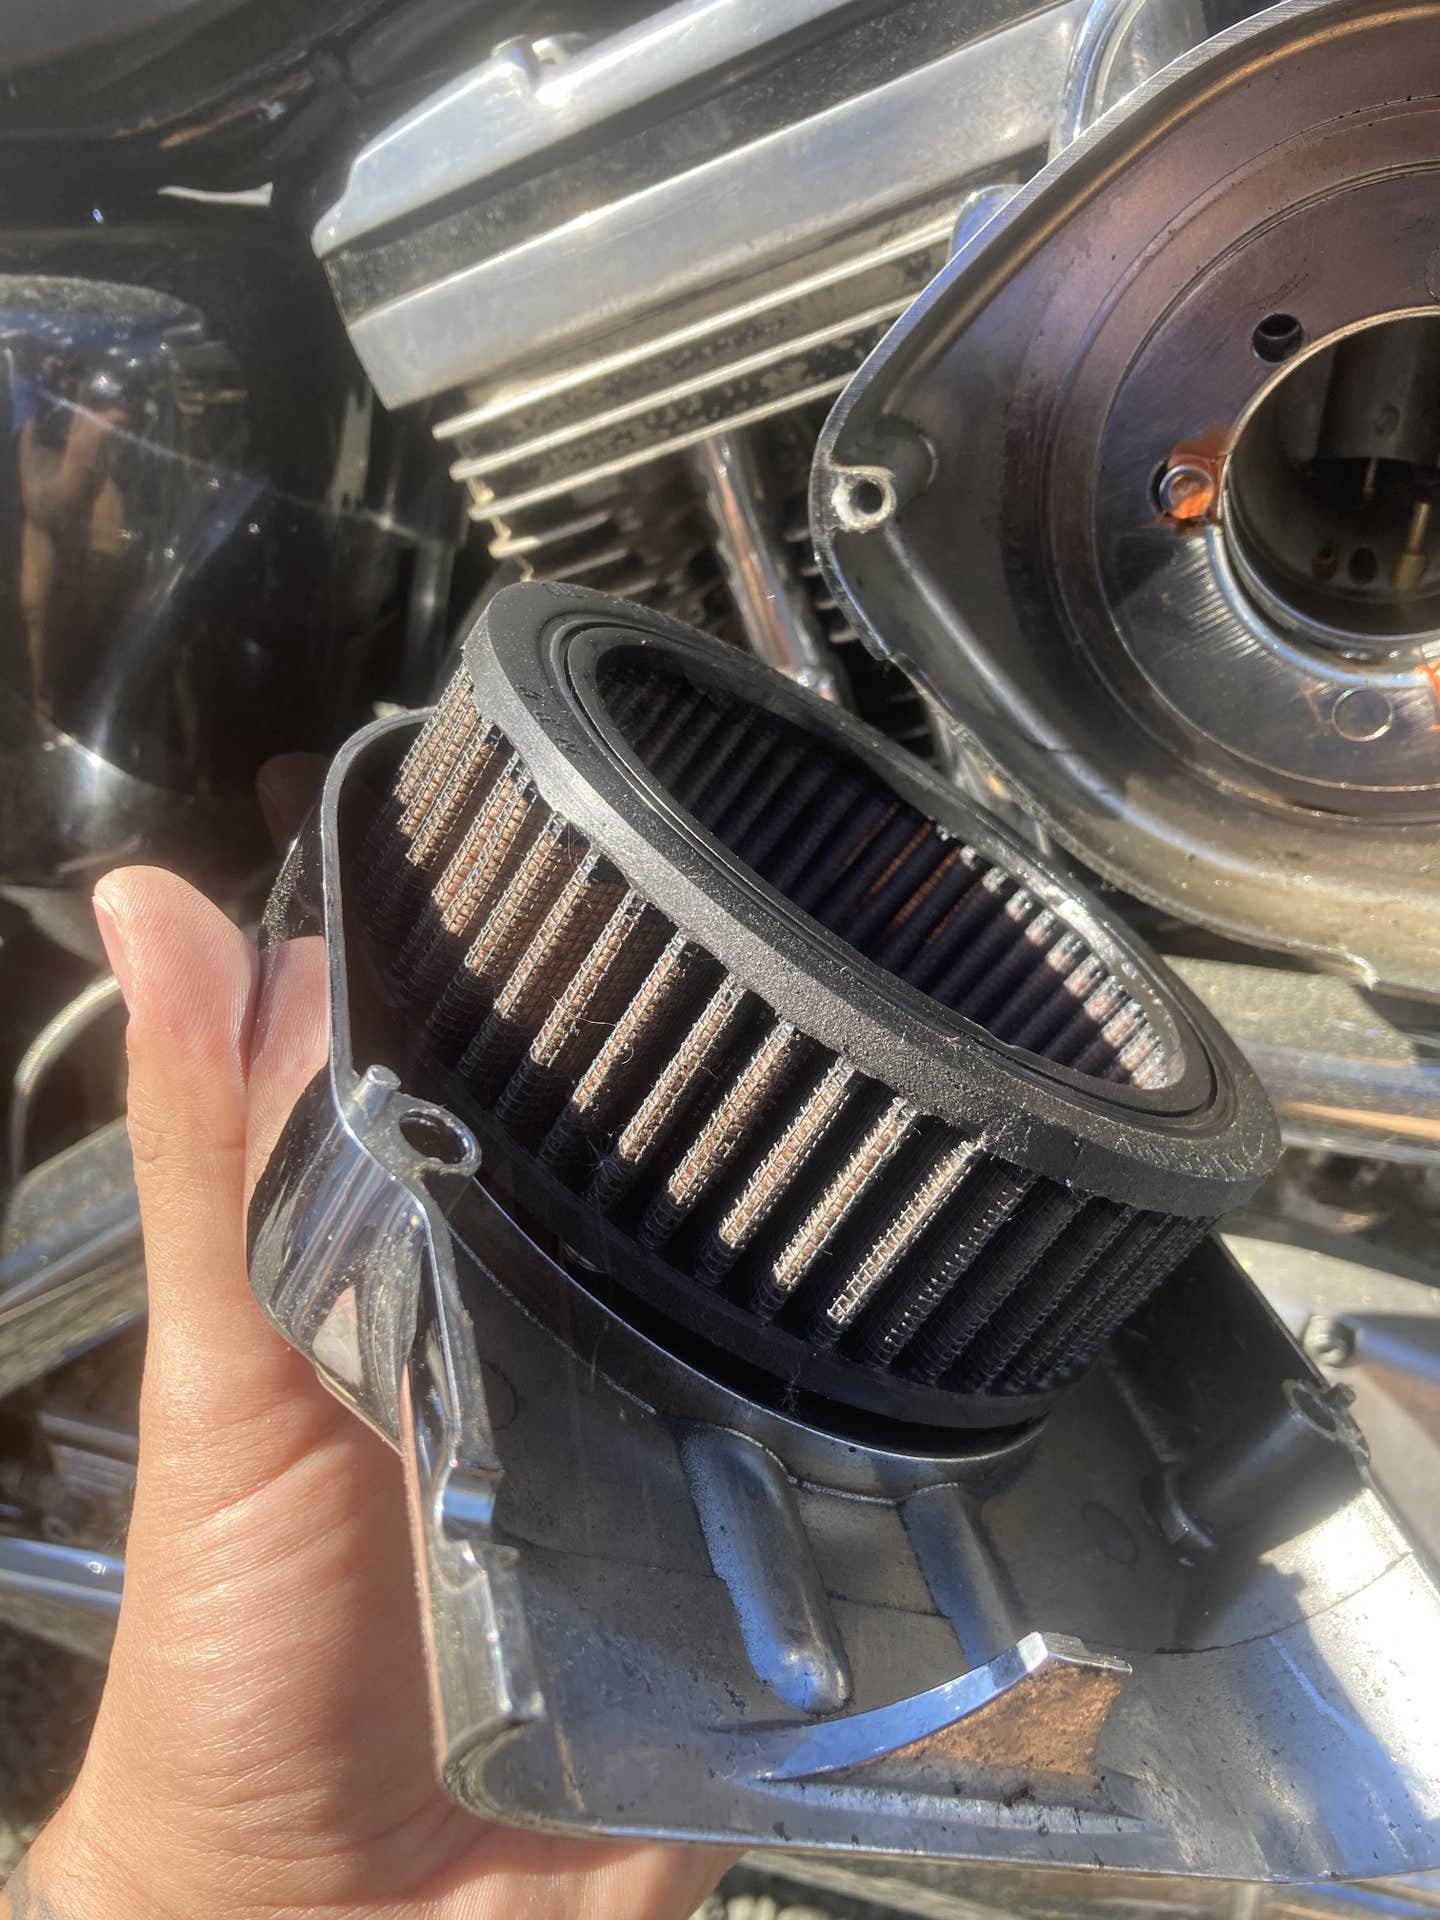
Removing The Air Filter
Begin by locating the air filter cover on your Harley Davidson. Carefully remove the screws or clips holding the cover in place to access the air filter. Gently pull out the air filter for cleaning or replacement.
Removing the air filter from your Harley Davidson is a simple process. With the right tools and a bit of patience, you can ensure your bike runs smoothly. Follow this guide to remove the air filter safely and efficiently.
Locating The Air Filter
First, identify where the air filter is located on your bike. Typically, it's found on the side of the engine. Look for a round or oval cover that houses the air filter. This cover often features the Harley Davidson logo. Having a clear idea of its location will make the removal process straightforward.
Detaching The Filter Safely
Once located, prepare to remove the air filter safely. Begin by unscrewing the bolts securing the cover. Use a screwdriver that fits the screws perfectly to avoid damaging them. Carefully lift the cover to reveal the air filter. Gently pull the filter out, ensuring not to damage any surrounding parts. Handle the filter with care to prevent tearing or crushing it. If it's stuck, wiggle it gently until it comes free.
Cleaning The Air Filter
Cleaning the air filter is vital for your Harley Davidson’s performance. A clean air filter ensures proper airflow and protects the engine. Dirt and debris can clog the filter, reducing efficiency. Regular cleaning keeps your bike running smoothly and extends filter life.
Applying Cleaning Solution
Start by spraying the air filter with a special cleaning solution. Use a cleaner made for motorcycle air filters. Allow the solution to soak for about 10 minutes. This breaks down dirt and grime inside the filter. Avoid using harsh chemicals that can damage the filter material. Gently squeeze the filter to help the cleaner penetrate.
Rinsing And Drying
Rinse the filter with low-pressure water. Use water from the clean side to the dirty side. This pushes dirt out instead of deeper in. Avoid using high-pressure water as it can harm the filter. After rinsing, shake off excess water carefully. Let the filter air dry completely in a shaded place. Do not use heat sources to speed drying. The filter must be fully dry before reinstalling to prevent engine damage.
Reinstalling The Air Filter
Reinstalling your Harley Davidson air filter is just as important as cleaning it properly. If the filter isn’t placed or secured correctly, your engine won’t breathe well, and you could face performance issues. Taking a few extra moments to ensure a snug and correct fit makes a significant difference.
Proper Placement
First, make sure the air filter is oriented the right way. The filter usually fits into a specific groove or housing designed to hold it firmly. Placing it upside down or misaligned can allow dirt to bypass the filter and enter the engine.
Check for any markings or arrows on the filter that indicate airflow direction. If you’re unsure, compare it with the old filter’s position before removal. A perfectly seated filter should lie flat without any gaps or bends.
Securing The Filter
Once placed correctly, securing the air filter is crucial to keep it in place during rides. Depending on your Harley model, this might involve tightening screws, clamps, or snapping the cover back on.
Don’t overtighten screws as this can damage the filter or housing. Instead, aim for a firm fit that prevents the filter from moving or rattling.
Have you ever noticed a strange noise or drop in power after reinstalling your filter? It’s often due to a loose seal letting in unfiltered air. Take a moment to double-check your work—you’ll save yourself from unnecessary troubleshooting later.
Maintenance Tips For Longevity
Keeping your Harley Davidson air filter in top shape is key to ensuring your bike runs smoothly and lasts longer. Proper maintenance not only improves performance but also saves you money on repairs down the road. Let’s look at some practical tips that help you extend the life of your air filter and keep your ride humming.
Regular Inspection Schedule
Set a consistent schedule to check your air filter. Every 3,000 to 5,000 miles is a good starting point, but adjust based on your riding conditions. Dusty roads or heavy traffic might require more frequent checks.
Look for signs of dirt buildup or damage. If the filter looks clogged or worn, it’s time for cleaning or replacement. Don’t wait until you notice a drop in engine performance—that’s a red flag your filter isn’t doing its job.
Keeping a maintenance log helps. Note inspection dates, cleaning, and replacements. This simple habit can prevent neglect and help you spot patterns that affect your bike’s health.
Avoiding Common Mistakes
Many riders rush the cleaning process or use harsh chemicals that damage the filter. Avoid using strong detergents or compressed air, which can tear the filter material.
Never skip drying the filter completely before reinstalling. A damp filter invites mold and reduces airflow, hurting engine performance.
Don’t forget to use the right cleaning products. Specialized air filter cleaners work best and protect the filter’s integrity. Using plain soap or gasoline might seem convenient but can cause more harm than good.
Think about your last cleaning job—did you rush or cut corners? Taking your time and using proper methods ensures your air filter lasts longer and keeps your Harley running at its best.
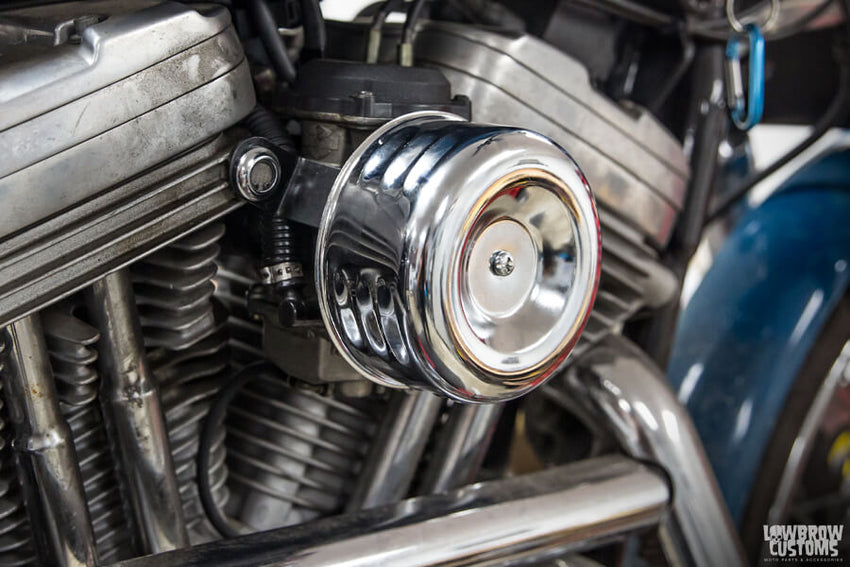
Credit: www.lowbrowcustoms.com
Frequently Asked Questions
How Often Should I Clean My Harley Davidson Air Filter?
Clean your Harley Davidson air filter every 5,000 miles or as recommended. Regular cleaning ensures optimal engine performance and fuel efficiency. Check the filter more frequently in dusty or harsh environments to prevent clogging and maintain airflow.
What Tools Are Needed To Clean The Air Filter?
You need basic tools: screwdriver, air filter cleaner, water, and a soft brush. Use a clean container for soaking the filter and a towel for drying. Avoid harsh chemicals that can damage the filter material.
Can I Use Water To Clean The Air Filter?
Yes, use water with a mild air filter cleaner to wash dirt and debris. Rinse thoroughly but gently to avoid damaging the filter. Always let the filter dry completely before reinstalling it on your bike.
How Do I Know If My Air Filter Needs Replacement?
Replace the air filter if it shows tears, excessive dirt, or damage after cleaning. A clogged filter reduces engine power and fuel efficiency. Inspect it regularly for wear and replace it as per the manufacturer's guidelines.
Conclusion
Cleaning your Harley Davidson air filter keeps your bike running smooth. Regular care helps the engine breathe better and last longer. A clean filter improves fuel efficiency and performance. Don’t wait for dirt to cause problems. Follow simple steps to clean and maintain it often.
Your bike will thank you with better rides and fewer issues. Taking time for this small task pays off in big ways. Keep your Harley healthy by caring for its air filter today.