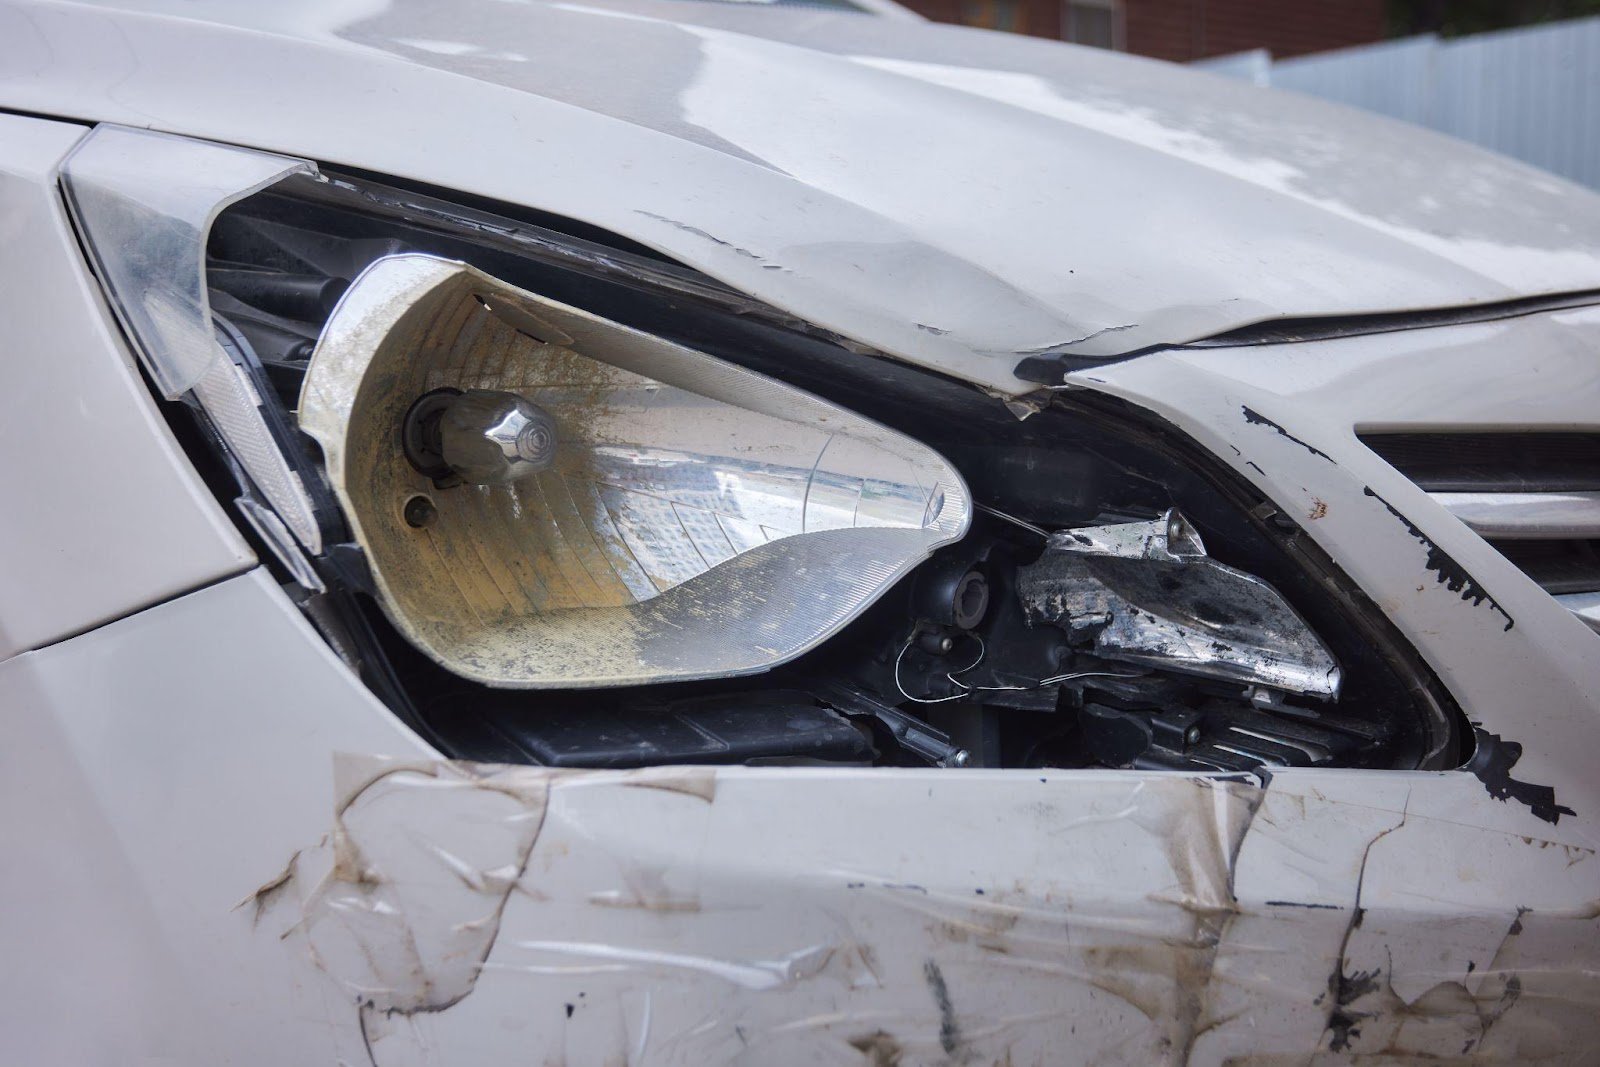
Are your car headlights looking foggy or dim, even after cleaning the outside? You might be surprised to learn that the inside of your headlights can get dirty too, affecting how well you see the road at night.
Cleaning the inside of your headlights can seem tricky, but it’s easier than you think—and it can make a big difference in your driving safety. If you want brighter, clearer headlights without spending a fortune, keep reading. This guide will show you step-by-step how to clean your car headlights from the inside, so you can drive with confidence and improve your car’s appearance instantly.

Credit: www.carsales.com.au
Signs Of Internal Headlight Fogging
Internal headlight fogging can sneak up on you, often unnoticed until it starts affecting your driving experience. Recognizing the signs early can save you from reduced visibility and costly repairs. Let’s look at what to watch for inside your headlights.
Common Causes
Moisture trapped inside the headlight assembly is the main culprit behind internal fogging. This can happen if the seal around the headlight cracks or wears out over time. Tiny holes or gaps caused by stone chips or accidents also allow water to enter.
Another cause is condensation formed from temperature changes. When warm air inside the headlight meets cold external surfaces, water droplets form on the inner lens. This is especially common in humid or rainy climates.
Effects On Visibility
Have you noticed your headlights looking dull or cloudy? That’s a clear sign your visibility might be compromised. The fog inside scatters the light beam, reducing how far and wide your headlights illuminate the road.
This decrease in light output can make nighttime driving riskier, especially on poorly lit roads. It also increases glare for oncoming drivers, which can lead to dangerous situations. If you spot this, it’s time to consider cleaning the headlights from the inside.
Tools And Materials Needed
Cleaning car headlights from the inside requires specific tools and materials to get the job done effectively and safely. Having the right supplies on hand not only simplifies the process but also ensures you don’t damage any components. Let’s break down exactly what you need before you start working on your headlights.
Cleaning Supplies
- Distilled Water:Essential for rinsing without leaving mineral spots.
- Isopropyl Alcohol:Helps remove grease and residue inside the headlight lens.
- Microfiber Cloths:Soft and non-abrasive, perfect for wiping delicate surfaces.
- Mild Dish Soap:Use it to create a gentle cleaning solution.
- Silica Gel Packs or Desiccant:To absorb moisture inside the housing after cleaning.
- Small Soft Brush or Cotton Swabs:For reaching tight corners inside the headlight.
When I first cleaned my headlights from the inside, I underestimated the importance of microfiber cloths. Using regular rags left tiny scratches that were frustrating to fix later. This taught me to always choose soft materials for delicate parts.
Safety Gear
- Gloves:Protect your hands from chemicals and sharp edges inside the headlight assembly.
- Safety Goggles:Prevent any cleaning solution or debris from irritating your eyes.
- Dust Mask:Useful if you’re dealing with old dust or mold inside the headlight.
Have you ever paused to think about how much dust or even mold might be inside your headlights? Wearing a dust mask can save you from inhaling unwanted particles during cleaning. Your safety should never be an afterthought, especially when working with small, enclosed spaces.
Accessing The Headlight Interior
Access the headlight interior by removing the headlight assembly carefully. This allows easy cleaning of dirt and moisture inside the lens. Proper access improves light clarity and car safety.
Accessing the interior of your car headlights might seem like a daunting task at first, but with the right guidance, it becomes manageable and rewarding. Cleaning the inside of your headlights can significantly improve your visibility and the overall look of your car. Have you ever noticed your headlights looking foggy or dull, even after a thorough wash? This could be due to dust and grime build-up inside the headlight assembly. Let's explore how you can effectively access and clean the interior.
Removing The Headlight Assembly
To access the headlight's interior, you'll first need to remove the headlight assembly from your vehicle. This often requires a bit of patience and a steady hand. - Locate the screws: Begin by identifying the screws or clips that hold the headlight assembly in place. These are typically found under the hood, near the front of the car. - Use the right tools: A screwdriver or wrench, depending on your car model, will be essential. Carefully unscrew and keep the bolts in a safe place to avoid losing them. - Gentle removal: With the screws loosened, gently pull out the headlight assembly. Ensure you disconnect any electrical connections carefully to avoid any damage.
Precautions To Take
Safety and precision are crucial when dealing with car parts. Here are some precautions to consider: - Work in a clean, dry space: Ensure your workspace is free from debris and moisture to prevent any accidental damage to the headlight components. - Handle with care: Headlight assemblies are often made of plastic and can be fragile. Avoid using excessive force during removal and cleaning. - Avoid touching bulbs with bare hands: Oils from your skin can reduce the lifespan of the bulbs. Use gloves or a clean cloth when handling them. Taking these precautions not only protects your car but also ensures your safety. Have you ever tried accessing your headlight interior? Share your experiences in the comments, and let's learn from each other.
Cleaning Process Inside The Headlight
Cleaning the inside of your car headlights can significantly improve visibility and extend the lifespan of your lights. Dirt, moisture, and grime trapped inside the headlight housing reduce brightness and create a foggy appearance. Tackling this problem requires a careful approach to access, clean, and dry the interior effectively without damaging the components.
Removing Moisture
Moisture inside the headlight often causes fogging and even corrosion. Start by removing the headlight assembly from your vehicle to access the interior. You can gently warm the headlight with a heat gun or hairdryer to evaporate trapped water.
If the moisture is stubborn, try using silica gel packets or placing the headlight in a sealed bag with these packets overnight. This helps absorb the remaining dampness without risking damage. Have you checked your headlights for condensation after a rainy day? It’s a clear sign moisture needs to be addressed.
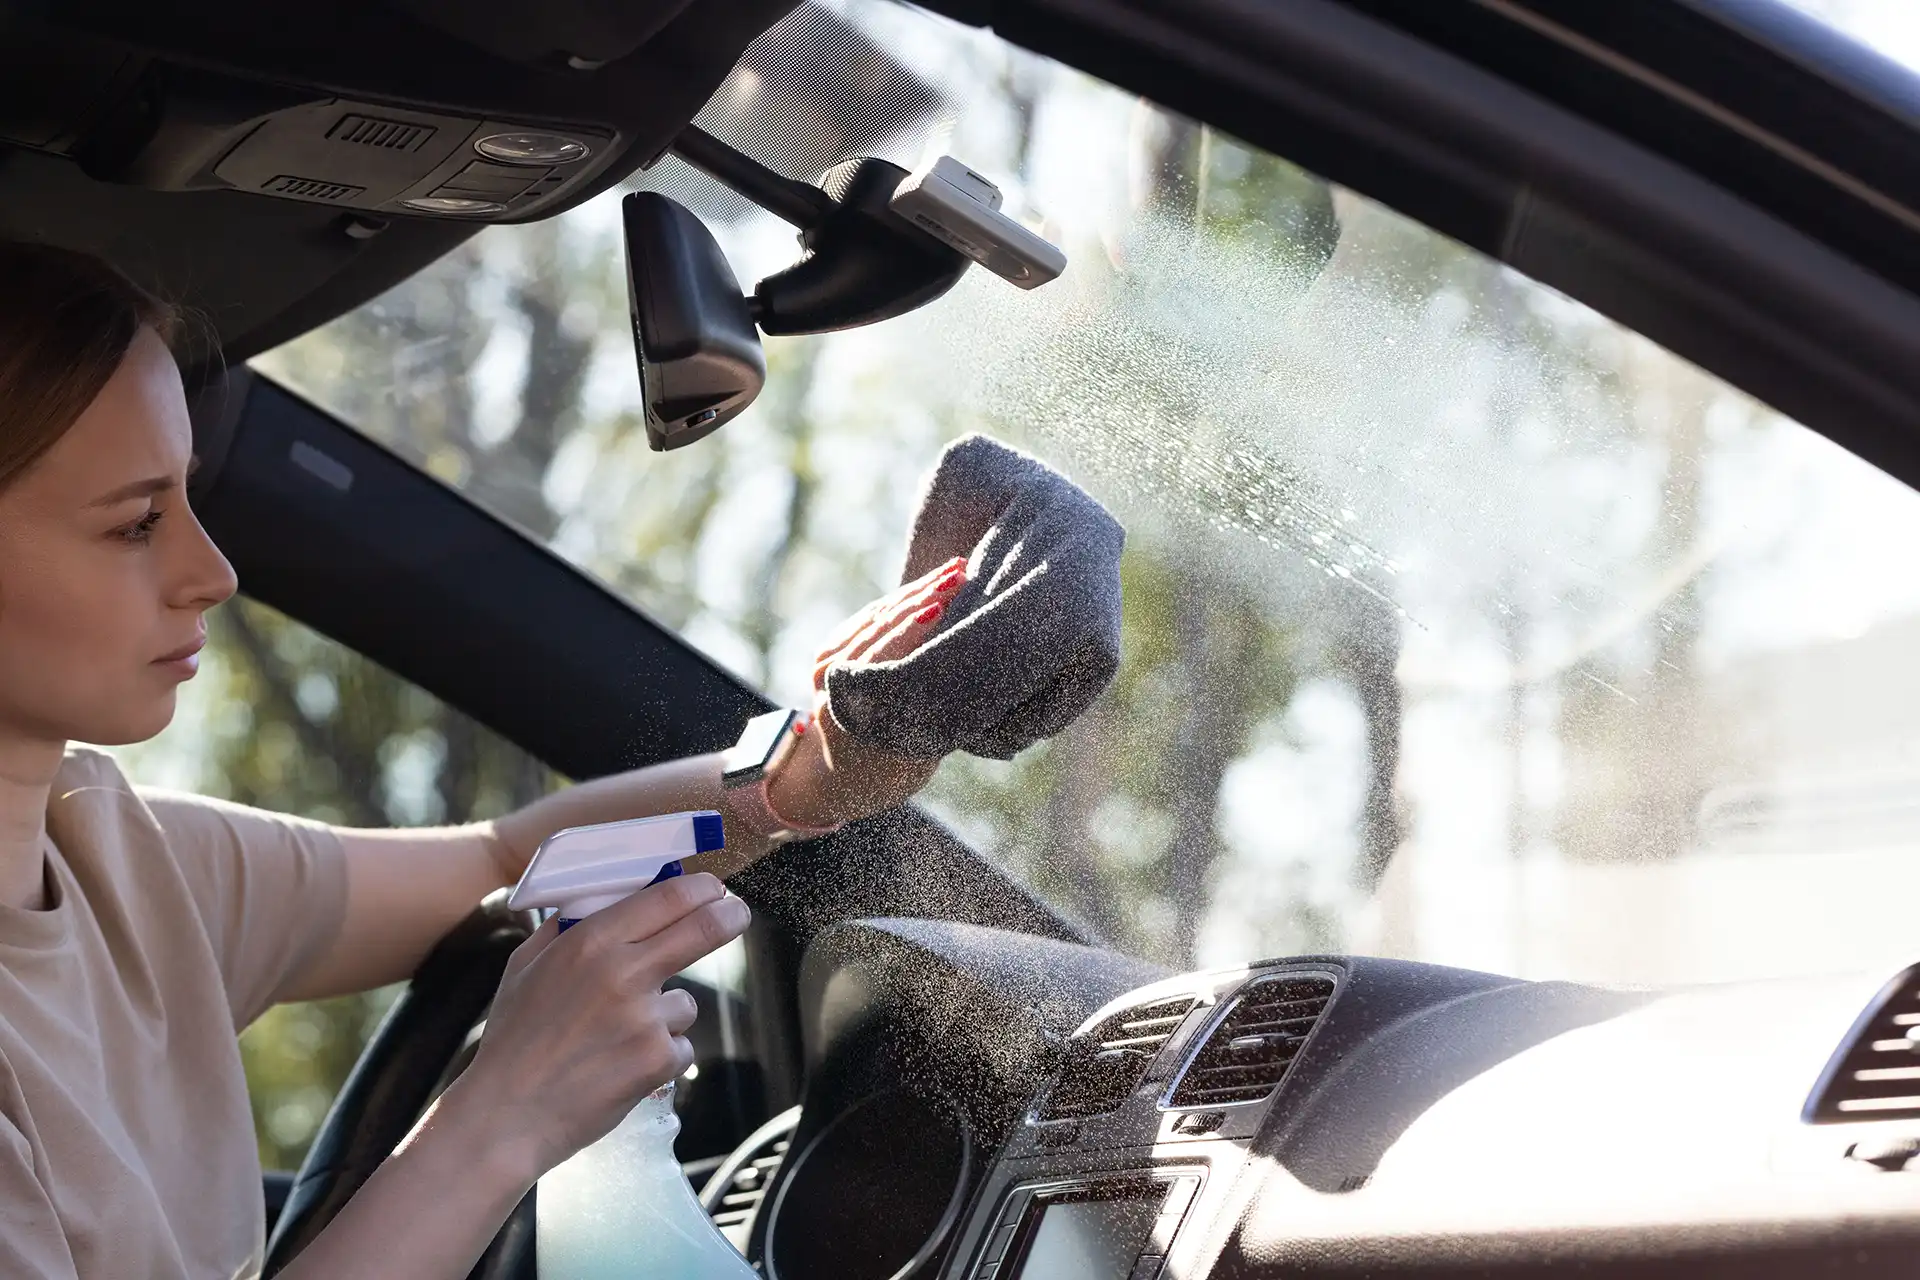
Cleaning The Lens
Once dry, focus on cleaning the inside of the lens. Use a soft cloth dampened with a mild soap solution or an automotive plastic cleaner to avoid scratching. Avoid harsh chemicals that can degrade the plastic or remove anti-UV coatings.
Gently wipe the inside surface in circular motions, paying attention to areas with visible dirt buildup. If dirt is difficult to remove, a soft-bristled brush can help reach corners and crevices. Regular cleaning inside your headlights ensures light shines through clearly.
Drying Techniques
After cleaning, thorough drying is crucial to prevent moisture from returning. Use a clean microfiber cloth to remove any residual dampness. Leaving the headlight open to air dry in a warm, dry place for several hours is highly effective.
Sealing the headlight properly after drying is just as important. Inspect the rubber seals and replace any that are cracked or worn. Have you noticed water pooling inside your headlights after rain? It might be time to check those seals carefully.
Reassembling And Sealing
After cleaning the inside of your car headlights, reassembling and sealing are key. This ensures your headlights stay clear and protected from moisture. Proper reassembly avoids damage and keeps your headlights working well.
Reattaching The Headlight
Carefully place the headlight back into its housing. Align all clips and screws with their original spots. Avoid forcing parts to prevent cracks or breaks.
Use a screwdriver to tighten screws firmly but gently. Check that the headlight sits flush with the car body. Loose parts can cause vibrations and reduce light quality.
Ensuring A Tight Seal
Check the rubber gasket or seal around the headlight. Replace it if it looks worn or cracked. A good seal keeps water and dust out.
Apply automotive silicone sealant around the edges if needed. Use a thin, even layer to avoid mess. Let the sealant dry fully before driving.
Close the hood and test the headlights. Look for any gaps or loose areas. A tight seal keeps your headlights clear and safe.

Credit: www.youtube.com
Preventing Future Fogging
Fogging inside car headlights reduces visibility and looks unsightly. Preventing future fogging helps keep headlights clear and bright. Moisture and dirt buildup cause fogging. Proper care and protection reduce this problem significantly.
Maintenance Tips
Keep headlights dry to avoid fog buildup. Check seals around headlights regularly. Replace worn or damaged seals immediately. Clean headlights gently with mild soap and water. Avoid harsh chemicals that can damage the surface. Park your car in a garage or shaded area to reduce moisture exposure. Use a microfiber cloth to wipe headlights after washing the car. Dry headlights thoroughly after rain or car washes.
Using Protective Coatings
Apply a protective coating to create a moisture barrier. Choose coatings made for car headlights to ensure safety. These coatings prevent water from entering and reduce fogging. Reapply coatings every few months for best results. Some coatings also protect against UV rays, stopping yellowing and cracking. Follow product instructions carefully for proper application. Protective films offer another option to shield headlights from dirt and moisture.

Credit: parade.com
Frequently Asked Questions
How Do You Access The Inside Of Car Headlights?
To access inside headlights, remove the headlight assembly carefully. Check your car manual for specific instructions. Usually, screws or clips hold the assembly. Disconnect wiring before removing. This allows you to clean or replace internal parts safely and effectively.
What Materials Are Safe For Cleaning Inside Headlights?
Use mild soap, water, and a microfiber cloth for cleaning. Avoid harsh chemicals or abrasive materials as they can damage the lens. Isopropyl alcohol is effective for removing stubborn grime without harming plastic surfaces inside headlights.
How Often Should I Clean Headlights From The Inside?
Clean headlights internally every 1-2 years or when visibility decreases. Moisture or dirt buildup inside can reduce light output. Regular maintenance ensures clear light beams and improves driving safety, especially at night or in bad weather.
Can I Clean Inside Headlights Without Professional Help?
Yes, cleaning inside headlights is doable at home with basic tools. Follow your vehicle’s manual, use gentle cleaning agents, and work carefully. If unsure, seek professional help to avoid damaging the headlight or vehicle components.
Conclusion
Cleaning car headlights from the inside improves night driving safety. Dirt and fog inside the lens reduce light brightness. Regular cleaning keeps headlights clear and bright. Use simple tools and gentle cleaners for the best results. Take your time to avoid damage.
Clear headlights make your car look newer too. Try this easy task to enhance your driving experience. Safe driving starts with good visibility. Keep your headlights shining bright.