Are your car headlights looking dim or foggy from the inside? This can make driving at night harder and even unsafe.
You might think cleaning the outside is enough, but the real problem often hides inside the headlight. Luckily, you don’t need to be a mechanic or spend a lot of money to fix this. In this guide, you’ll learn simple, effective steps to clean the inside of your car headlights and bring back their clear, bright shine.
Keep reading, and you’ll see how easy it is to improve your car’s look and your safety on the road.
Tools And Materials Needed
Cleaning the inside of your car's headlight can dramatically improve visibility and the overall look of your vehicle. To get the job done right, you’ll need a specific set of tools and materials. Having the right items on hand makes the process smoother and helps you avoid damage to the delicate components inside the headlight.
Essential Cleaning Tools
- Screwdrivers:You'll likely need both Phillips and flathead screwdrivers to remove the headlight assembly or access panels.
- Soft microfiber cloths:These prevent scratches on the lens and inside surfaces during cleaning.
- Small brushes:A soft-bristled toothbrush or detailing brush helps reach tight spots.
- Spray bottle:Fill it with water or cleaning solution for controlled application.
Cleaning Materials
- Mild soap or automotive cleaner:Choose a gentle cleaner that won’t damage plastic or coatings.
- Isopropyl alcohol:Useful for removing stubborn residue and disinfecting surfaces.
- Plastic polish or headlight restoration kit:Helps restore clarity if the lens inside is foggy or yellowed.
- Compressed air canister:Blows out dust and debris from hard-to-reach areas.
Safety And Preparation Supplies
- Gloves:Protect your hands from chemicals and grime.
- Masking tape:Use to protect paint or delicate parts during disassembly.
- Work light or flashlight:Good lighting makes it easier to see inside the headlight.
- Container or tray:Keep screws and small parts organized to avoid losing them.
Have you ever tried cleaning your headlights only to find yourself stuck halfway? Preparing these tools before you start keeps frustration at bay and speeds up the process. What’s your experience with DIY car maintenance—do you stock up on the right tools ahead of time or figure it out as you go?

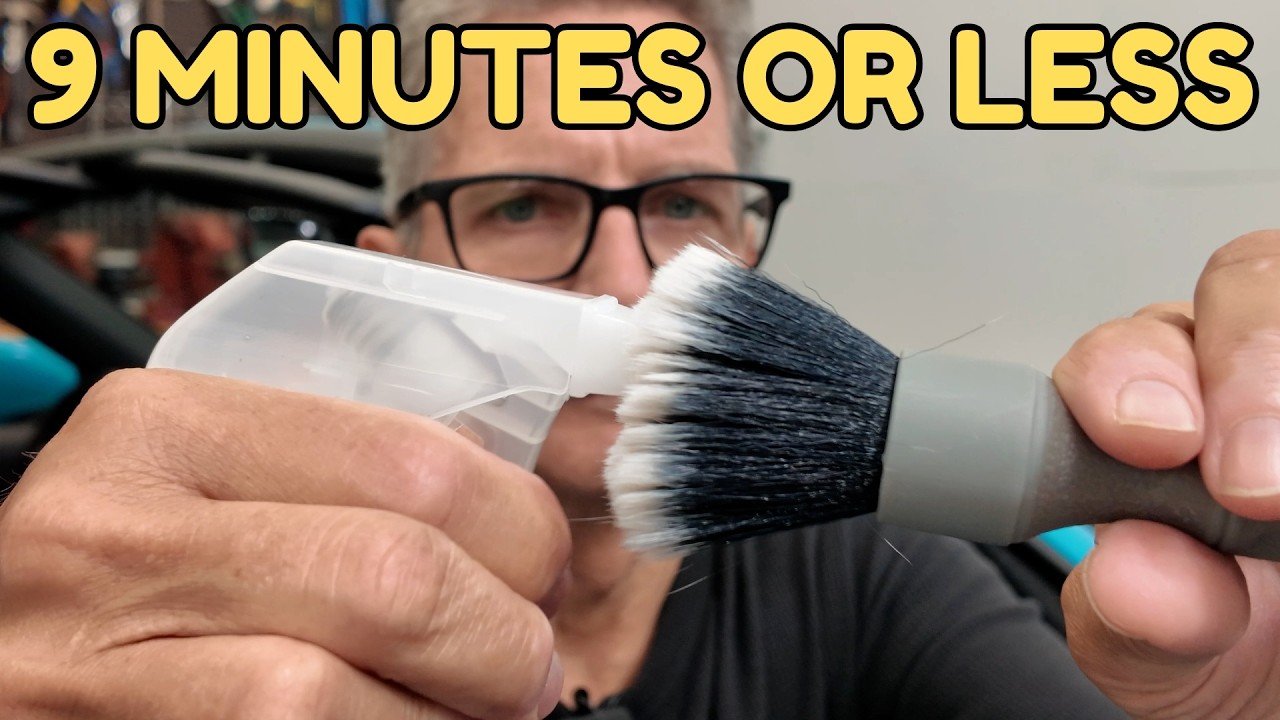
Credit: www.youtube.com
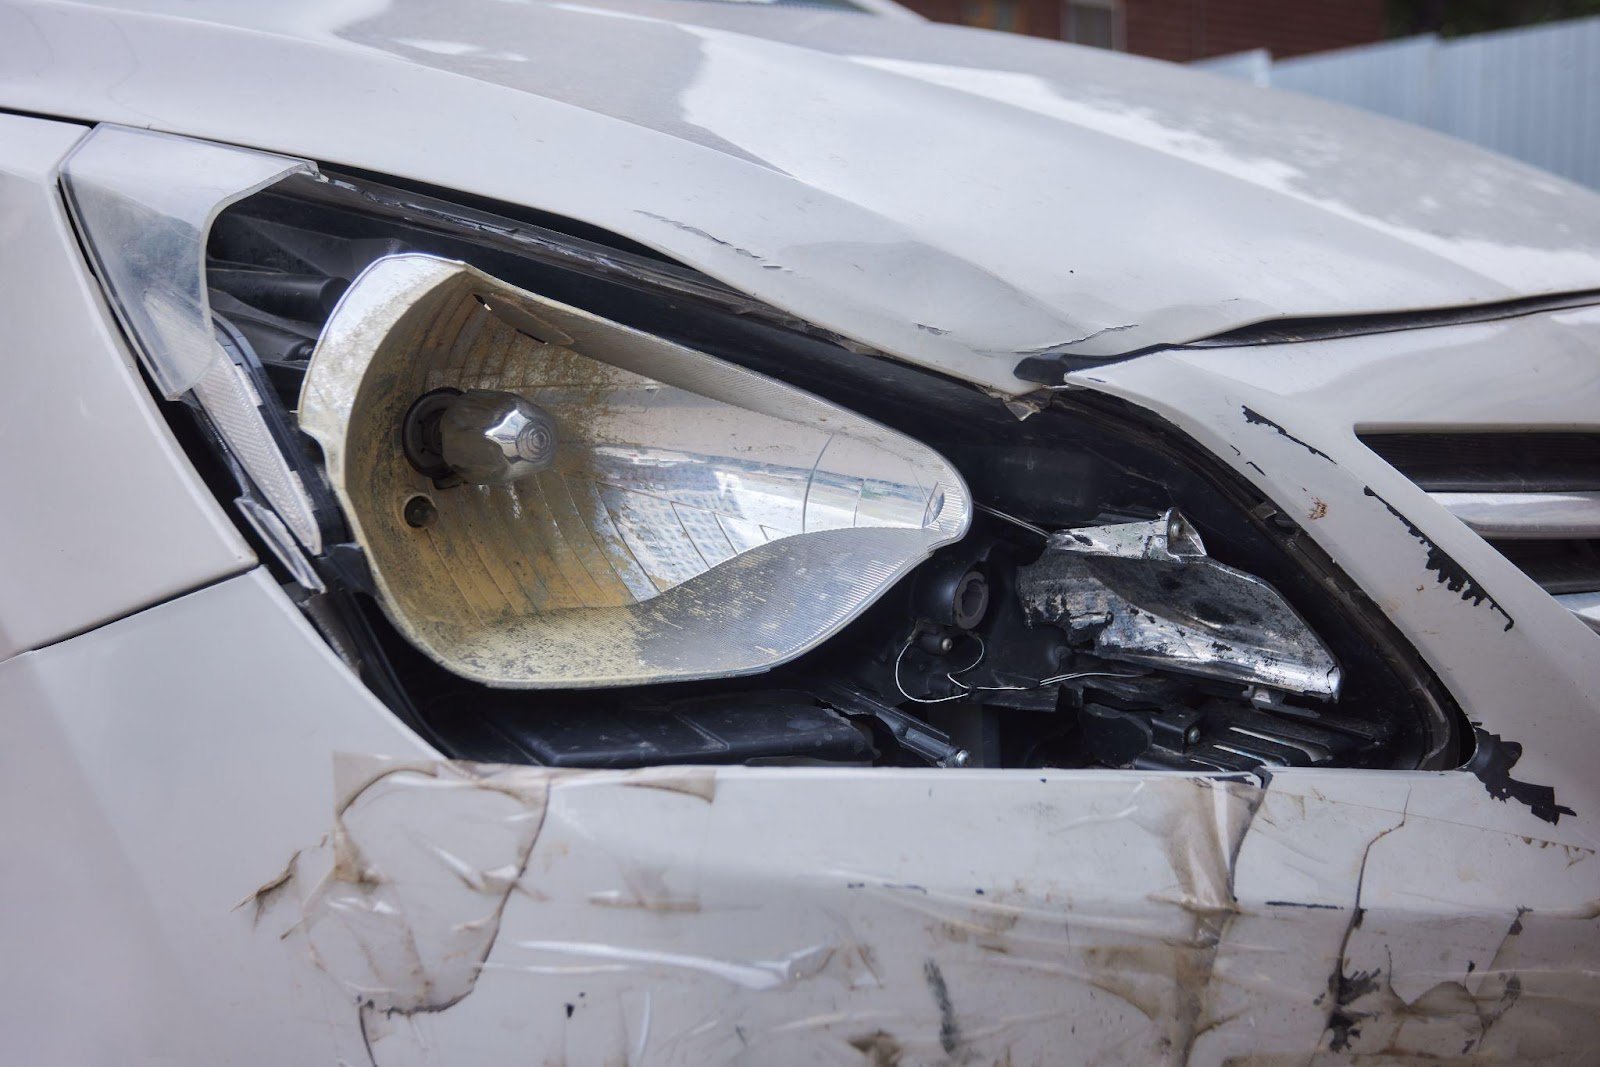
Removing The Headlight Assembly
Removing the headlight assembly is a key step to effectively clean the inside of your car headlights. It gives you better access and control, allowing a thorough cleaning that can restore brightness. While it might seem tricky at first, the process is manageable with a little patience and the right approach.
Locating The Headlight
Start by opening your car’s hood and identifying the back of the headlight. Most headlights sit right behind the front grille or bumper, but exact placement can vary by car model. If you’re unsure, check your vehicle’s manual or look up a diagram online.
Look for the plastic or metal housing that encloses the bulb. This housing is what you’ll be removing, so make sure you have a clear view and access to it. Sometimes, you might need to remove other components, like the battery cover or air filter, to reach the headlight assembly.
Unscrewing And Detaching
Gather the tools you need—usually a screwdriver or a socket wrench. Carefully unscrew the bolts or screws holding the headlight assembly in place. Keep these screws safe; losing them can complicate reinstallation.
Once the screws are out, gently pull the headlight assembly forward. You might feel some resistance—this is normal due to clips or seals. Avoid using excessive force to prevent damage.
Disconnect the electrical connectors by pressing the release tabs. If the connectors feel stuck, wiggle them slightly instead of pulling hard. Have you noticed how much easier the cleaning task becomes once you have the assembly out?
Opening The Headlight Housing
Carefully remove screws and clips to open the headlight housing. This allows access to clean the inside surface effectively. Handle parts gently to avoid damage during the process.
Opening the headlight housing is a crucial step in ensuring that your headlights stay clean and clear. This process might seem intimidating at first, but it becomes manageable once you understand the basics. Whether you're dealing with moisture, fog, or just accumulated dirt, opening the housing will allow you to access the inside of your headlights for a thorough cleaning.
Heating Methods To Loosen Seal
Applying heat is an effective way to soften the sealant that holds the headlight housing together. A common method involves using a hairdryer or heat gun. Simply direct the heat along the edges of the headlight where the sealant is applied, moving back and forth to avoid overheating any particular spot. Another approach is placing the headlight in an oven. Preheat your oven to about 200 degrees Fahrenheit. Place the headlight on a baking sheet and let it warm for around 10 minutes. This softens the sealant, making it easier to pry open. Always wear gloves to protect your hands when handling the warm headlight.
Separating The Lens From The Housing
Once the sealant is sufficiently softened, it's time to separate the lens from the housing. Use a flathead screwdriver or a plastic prying tool to gently work around the edges. Apply steady pressure and take care not to crack or damage the lens. As you pry open the headlight, you'll notice the sealant stretching and pulling apart. Keep prying until the lens comes off completely. This step requires patience, but the reward is access to the inside of the headlight for cleaning. Have you ever thought about how much clearer your driving experience can be with properly cleaned headlights? By taking control of this process, you not only save money but also gain a deeper understanding of your vehicle’s maintenance.
Cleaning The Interior Surface
Cleaning the interior surface of your car’s headlight can dramatically improve its brightness and your overall driving safety. Dust, moisture, and grime can build up inside the headlight, dulling the light and reducing visibility. Tackling the inside requires care and the right approach to avoid damage and ensure a clear finish.
Choosing The Right Cleaner
Selecting a cleaner that works well on plastic or glass without causing damage is crucial. Avoid harsh chemicals like ammonia or bleach, as they can cloud or crack the surface inside the headlight. Instead, look for mild soap solutions or specialized automotive headlight cleaning products designed for internal use.
I once tried a strong household cleaner on my headlight interior and ended up with hazy spots that took weeks to fix. That experience taught me to always check product labels and opt for gentle, car-safe formulas. If you’re unsure, test the cleaner on a small hidden area first to see how it reacts.
Wiping And Drying Techniques
After applying the cleaner, use a soft, lint-free cloth to gently wipe the interior surface. Avoid abrasive materials that can scratch the plastic or glass. Patience is key here; light, circular motions work best to lift grime without damaging the delicate interior coating.
Drying is just as important. Use a microfiber cloth to absorb moisture and prevent streaks or water spots. If possible, leave the headlight open to air dry fully before reassembling to avoid trapping moisture inside, which can cause fogging or mold growth.
Reassembling The Headlight
Reassembling the headlight is a crucial step that ensures your cleaning efforts pay off. It’s not just about putting parts back together; it’s about restoring the headlight to its original function and preventing future issues like moisture buildup. Taking your time here will save you from headaches down the road.
Sealing The Housing
Sealing the headlight housing properly is key to keeping dirt and water out. Check the rubber gasket or seal for any damage—if it looks cracked or worn, replace it before sealing. Use a high-quality silicone sealant around the edges to create a tight, waterproof barrier.
Don’t rush this step. Even a small gap can let moisture sneak in, fogging up your headlights again. Make sure the sealant is evenly applied and let it cure fully according to the product instructions. Your headlights will thank you with clearer, brighter beams.
Reattaching To The Vehicle
When putting the headlight back onto your car, align it carefully with the mounting points. Misalignment can cause poor light projection and damage the assembly. Secure all screws and clips firmly but avoid overtightening, which can crack the plastic housing.
Reconnect the electrical plugs with a gentle push until you hear a click, ensuring the connection is solid. Before closing the hood, test the headlights to confirm they work perfectly. Have you ever skipped testing and found yourself driving with one headlight out? This quick check can save you from that frustration.

Credit: www.carsales.com.au
Preventive Tips For Headlight Maintenance
Keeping your car headlights clean inside is key to maintaining clear visibility and ensuring safety on the road. Preventive care stops dirt, moisture, and fog from building up, which can reduce the effectiveness of your headlights. You might think cleaning is only necessary when headlights look dim, but small actions now can save you from bigger headaches later.
Regular Inspection For Early Signs Of Dirt And Moisture
Check your headlights often, especially after rainy or dusty trips. Look closely for tiny droplets or dust particles trapped inside the lens. Catching these early can help you take action before the problem worsens.
I once ignored a slight fog inside my headlight, and it quickly turned into a full moisture buildup that required professional cleaning. Don’t make the same mistake—spot issues while they’re still small.
Proper Sealing To Prevent Water Entry
Ensure the headlight seal is intact and not cracked or worn out. Water sneaking in through damaged seals is a common cause of internal dirt and fogging.
If you notice gaps or damage, replace the seal or apply waterproof silicone to keep moisture out. Your headlights will thank you with longer-lasting clarity.
Parking In Shaded Or Covered Areas
Parking your car in direct sunlight can cause the headlight plastic to degrade and become more prone to cracks and dirt buildup. Whenever possible, use a garage or shaded spot.
Even a simple car cover can protect your headlights from dust and environmental damage when you don’t have access to covered parking.
Using High-quality Headlight Covers
Consider investing in protective covers designed for your car’s headlights. These shields act as the first line of defense against debris and bugs that can scratch or dirty your lens.
Using these covers can extend the time between cleanings and keep your headlights looking clear longer.
Avoiding Harsh Chemicals During Cleaning
When you do clean your headlights, avoid strong chemicals that can damage the plastic or seals. Use gentle, car-safe cleaning products instead.
Harsh cleaners can cause cracks or cloudiness, making your headlights more vulnerable to internal dirt buildup.
Keeping Your Car Well-ventilated
Good ventilation inside your car can reduce condensation inside the headlights. Moisture builds up when air circulation is poor, especially in humid climates.
Try to keep windows slightly open when parked for long periods, or use a moisture absorber inside the vehicle to maintain dry air.

Credit: parade.com
Frequently Asked Questions
How Do I Clean The Inside Of A Car Headlight?
To clean inside a car headlight, remove the headlight assembly first. Use a mixture of mild soap and water to clean. Dry thoroughly before reassembling to avoid moisture buildup.
Can I Use Household Cleaners Inside Headlights?
Household cleaners can damage headlight materials. Use mild soap or specialized automotive cleaner instead. Avoid harsh chemicals to prevent fogging or discoloration.
How Often Should I Clean Inside My Headlights?
Clean inside headlights when you notice fogging or dirt buildup. Typically, this is needed once a year or after exposure to harsh conditions. Regular cleaning improves light clarity and safety.
Is It Safe To Disassemble Headlights For Cleaning?
Disassembling headlights is safe if you follow manufacturer instructions. Be careful with seals and wiring to avoid damage. If unsure, consult a professional to prevent costly mistakes.
Conclusion
Cleaning the inside of a car headlight improves visibility and safety. Dust and dirt can reduce light brightness quickly. Simple steps and common tools make the job easy. Regular cleaning keeps headlights clear and bright longer. Take your time and follow instructions carefully for best results.
Clean headlights help you see better while driving at night. A little effort can make a big difference on the road. Keep your car safe and your lights shining bright.