Have you noticed those small chips on your car hood and wondered how to fix them before they turn into bigger problems? Chipped paint doesn’t just look bad—it can lead to rust and damage that’s costly to repair.
The good news is, you don’t need to be a pro or spend a fortune to make your car hood look great again. In this guide, you’ll discover simple, step-by-step ways to repair those chips quickly and effectively. Keep reading, and you’ll have your car hood looking smooth and fresh in no time.

Credit: www.reddit.com
Assess The Damage
Before diving into fixing the chipped paint on your car hood, it’s crucial to assess the damage carefully. Understanding the extent and specifics of the chip helps you decide the best repair approach. Taking a moment here can save you time and money while ensuring a flawless finish.
Check The Size And Depth
Start by examining the chip closely. Is it just a tiny surface scratch or a deep gouge exposing the metal underneath? Small chips under a quarter inch often require minimal work, but deeper damage might need sanding or filler.
Use a magnifying glass if needed to see the edges clearly. Ask yourself: Does the paint peel around the chip? Is there rust forming? These signs tell you if the damage is worsening.
Identify The Paint Type
Knowing the type of paint on your car hood is essential for a perfect color match. Most modern cars use either enamel, acrylic, or urethane paints. Check your car manual or the label inside the driver’s door for paint codes.
If you don’t have access to the code, you can take a small photo or sample to an auto paint store. Matching the exact shade ensures your repair blends seamlessly and looks professional. Have you ever tried fixing a chip only to notice the color looked off afterward? Avoid that by doing this step first.
Gather Necessary Materials
Before fixing chipped paint on your car hood, gather all necessary materials. Having the right tools ensures a smooth repair process. This preparation helps you avoid interruptions and achieve better results.
Touch-up Paint And Primer
Select touch-up paint that matches your car’s color exactly. Use the car’s paint code, usually found inside the driver’s door. Primer is essential to help paint stick to bare metal. It also prevents rust forming under the paint.
Sandpaper And Cleaning Supplies
Sandpaper smooths out rough edges around the chip. Use fine-grit sandpaper, like 600 to 1000 grit, for best results. Cleaning supplies remove dirt and grease from the area. Use soap, water, and rubbing alcohol for a clean surface.
Clear Coat And Applicators
Clear coat protects the paint and gives a glossy finish. Choose a clear coat compatible with your touch-up paint. Applicators like fine brushes or paint pens help apply paint precisely. Use small tools to avoid overpainting surrounding areas.
Prepare The Surface
Clean the chipped area thoroughly with soap and water to remove dirt and grease. Sand the edges gently to create a smooth surface for better paint adhesion. Ensure the surface is dry before applying any repair materials.
Preparing the surface of your car hood is crucial for a flawless paint repair. A well-prepared surface ensures the new paint adheres properly and lasts longer. Skipping or rushing this step can lead to unsightly blemishes or peeling paint, which no car owner wants. So, how do you get the surface ready for repair? It starts with meticulous cleaning and sanding. You'll be surprised at how these simple tasks can make a world of difference in the outcome.
Clean The Area Thoroughly
Begin by washing the chipped area with soap and water. This step removes dirt and grime that could interfere with the repair. Make sure to rinse it well and let it dry completely. Once the area is dry, use a clean microfiber cloth to wipe it down with a bit of rubbing alcohol. This will eliminate any lingering oils or residues. You want a spotless surface that allows the primer and paint to bond effectively.
Sand Around The Chip
Grab a piece of fine-grit sandpaper, around 400 to 600 grit, to gently sand the area around the chip. This smooths out any rough edges and helps the new paint blend seamlessly with the old. Be careful not to over-sand and damage the surrounding paint. The goal is to create a smooth transition between the existing paint and the chip. Wondering if sanding is really necessary? Consider this: a well-sanded surface is like a blank canvas, ready to hold a masterpiece. Skipping it could result in uneven paint that stands out instead of blending in. By focusing on these preparations, you're setting the stage for a successful paint job that will make your car hood look as good as new.

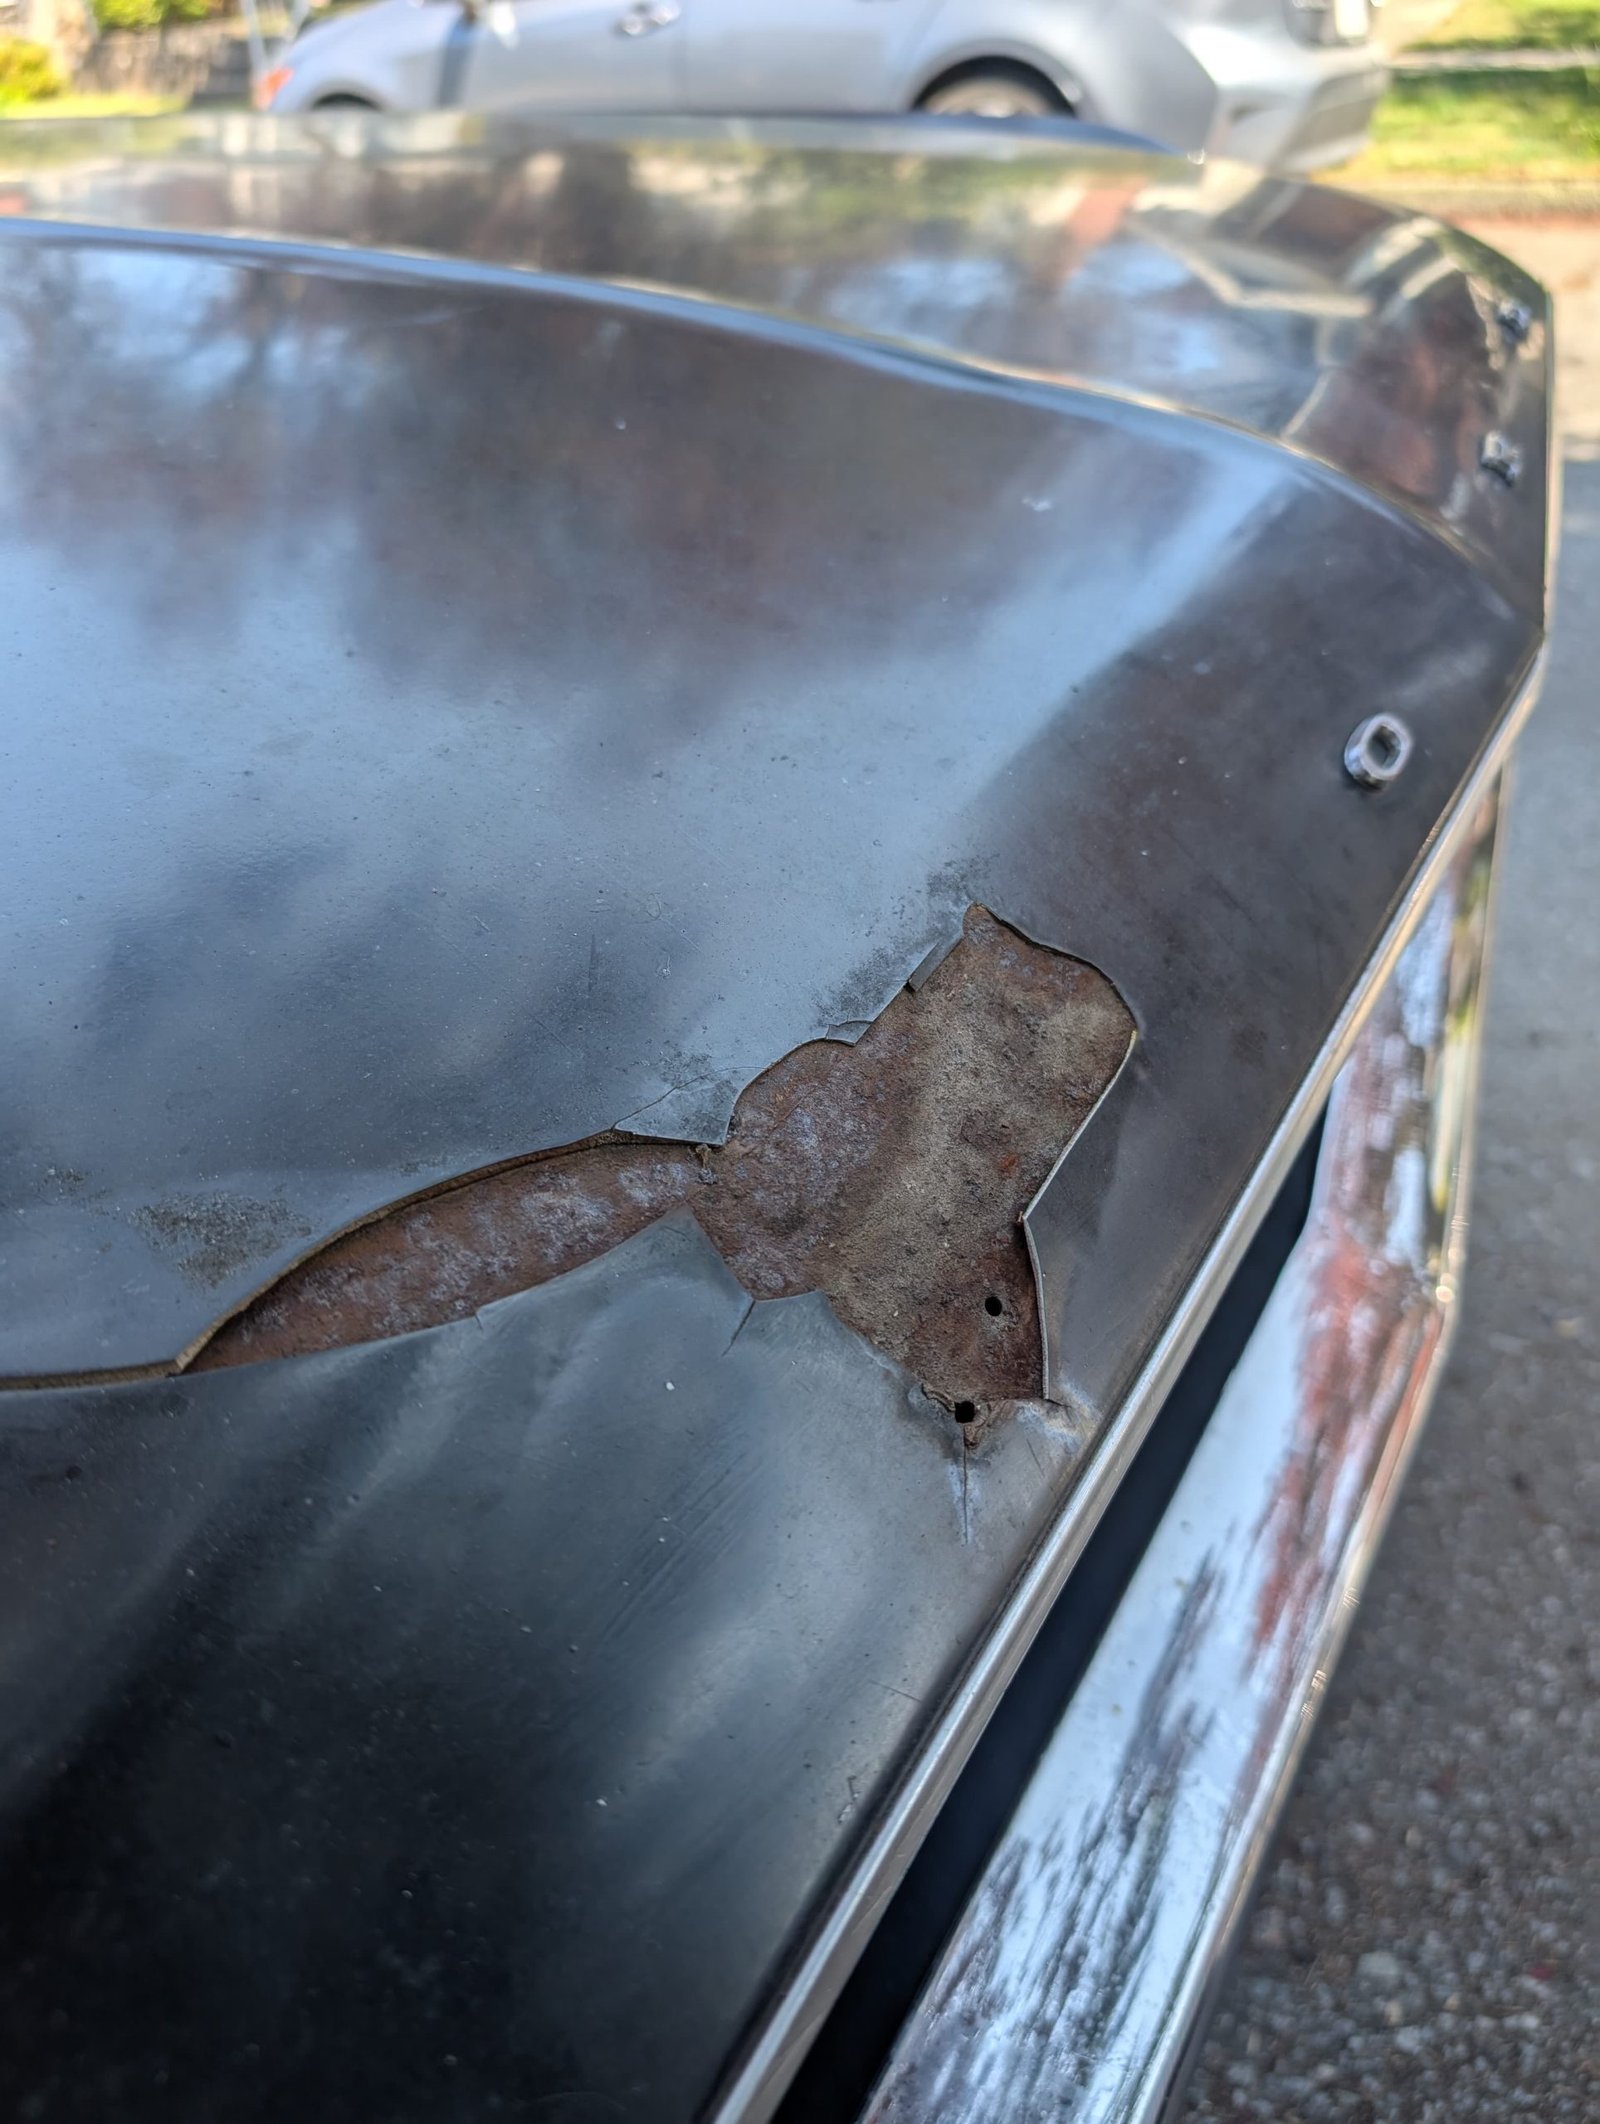
Credit: www.reddit.com
Apply Primer And Paint
Applying primer and paint is a key step in fixing chipped paint on your car hood. Primer prepares the surface for paint and helps it stick better. Paint adds color and protection, restoring the hood’s look. Both steps need patience and careful work for best results.
Use Primer For Bare Metal
Primer must cover any bare metal spots left by chips. This layer stops rust from forming under the paint. Clean the metal well before applying primer. Use a small brush or spray for even coverage. Let the primer dry fully before painting.
Apply Thin Layers Of Paint
Thin paint layers prevent runs and uneven spots. Use a fine brush or spray for smooth coats. Allow each layer to dry before adding the next. Several thin layers build color depth and durability. Finish with a clear coat for extra shine and protection.
Smooth And Blend The Repair
Smooth and blend the repair to make the chipped area look natural. This step ensures the fixed spot matches the rest of the car hood perfectly. Proper smoothing removes rough edges, while blending keeps the paint consistent. Take your time to achieve a seamless finish that lasts.
Wet Sand The Painted Spot
Use fine-grit sandpaper to wet sand the painted spot gently. Wet sanding reduces bumps and blends the new paint with the old. Keep the sandpaper wet to avoid scratches. Sand in small circles until the surface feels even. Wipe the area with a clean cloth to check your progress.
Apply Clear Coat For Shine
After sanding, apply a clear coat to protect the paint and add shine. Use a spray or brush-on clear coat in thin layers. Let each layer dry before adding the next one. The clear coat seals the repair and gives a glossy finish. This step helps your car hood look smooth and polished.

Credit: www.reddit.com
Final Touches
After carefully repairing the chipped paint on your car hood, the final touches make all the difference. These steps ensure the repair blends seamlessly with the rest of your car’s finish and lasts longer. Paying attention to these details will help you maintain that fresh, flawless look.
Polish The Area
Polishing the repaired spot smooths out any rough edges and restores shine to the paint. Use a fine polishing compound and a soft cloth, applying gentle circular motions. This step not only blends the repair with surrounding paint but also protects the surface from dirt and grime.
Remember, too much pressure can damage the fresh paint, so keep your touch light. If you notice any unevenness after polishing, a second gentle pass can help. Have you checked how the light reflects off the repair? It should look consistent with the rest of the hood.
Maintain The Repair
Keeping your repair intact requires simple, regular care. Wash your car gently with mild soap and avoid harsh chemicals that might strip away the new paint. Waxing the area every few months adds an extra protective layer against the elements.
Consider parking in shaded areas to reduce sun damage, which can cause paint to fade or peel prematurely. If you spot any new chips or scratches, address them quickly to prevent rust. How often do you inspect your car’s paintwork? A small effort now can save you costly repairs later.
Frequently Asked Questions
How Can I Fix Chipped Paint On My Car Hood?
Clean the area, sand the chip, apply primer, paint, and clear coat. Let each layer dry before the next step.
What Materials Do I Need To Repair Chipped Car Paint?
You need sandpaper, primer, touch-up paint, clear coat, a fine brush, and polishing compound for best results.
How Long Does It Take To Repair Chipped Paint On A Car Hood?
The repair usually takes 1 to 3 hours, including drying time between layers.
Can I Fix Chipped Paint On My Car Hood Myself?
Yes, with the right tools and patience, DIY fixes can restore minor paint chips effectively.
Conclusion
Fixing chipped paint on your car hood is easier than it seems. Small chips can cause rust if left untreated. Taking quick action keeps your car looking good longer. Use the right tools and follow simple steps carefully. A smooth repair blends well with your car’s color.
Regular checks help catch new chips early. Keep your car’s paint strong and shiny with simple care. Now, you know how to handle those annoying paint chips yourself. Save time and money by acting fast. Your car deserves the best care you can give.