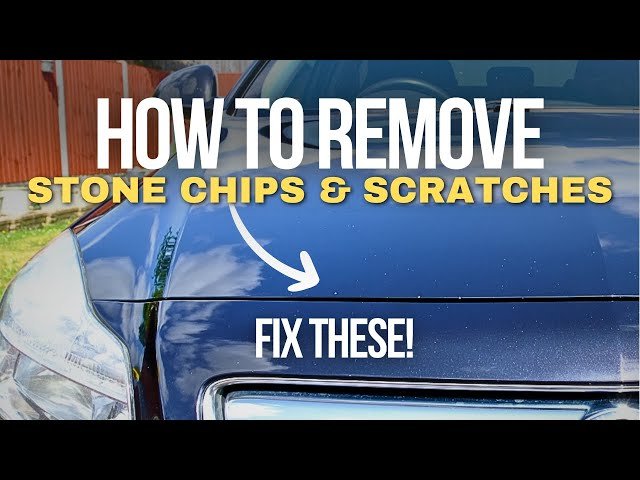
Have you noticed small rock chips ruining the look of your car hood? Those tiny dents and scratches might seem harmless at first, but left untreated, they can lead to rust and bigger problems.
The good news is, you don’t have to spend a fortune at the repair shop. You can fix those rock chips yourself, quickly and easily. In this guide, you’ll discover simple steps to restore your car’s hood to its original shine.
Keep reading, and by the end, you’ll have the confidence to tackle those chips and protect your car’s value.

Credit: www.reddit.com
Identify Rock Chip Damage
Identifying rock chip damage on your car hood is the crucial first step before you decide how to fix it. If you don’t understand the extent of the damage, you might use the wrong repair method or miss hidden issues that could worsen over time. Let’s take a closer look at how to evaluate the size, depth, and paint condition of those pesky chips.
Check Size And Depth
Start by examining the chip under good lighting. Look closely at how wide and deep the damage is. Is it just a tiny surface scratch, or has it penetrated through the paint layers down to the metal?
Smaller chips, about the size of a pencil tip, are usually easier to fix yourself. Larger or deeper chips might need professional attention to prevent rust. You can even use a magnifying glass or a small flashlight to see if the metal is exposed or if there are cracks around the chip.
Assess Paint Condition
Next, observe the paint around the chip. Is it flaking or peeling? Sometimes, the paint can lift around the damaged area, indicating that the chip is more serious than it looks.
Check if the clear coat—the shiny top layer—is still intact around the chip. If the clear coat is damaged, the exposed paint underneath can fade or oxidize quickly. This step helps you decide if simple touch-up paint will do or if you need a more thorough repair.

Credit: www.youtube.com
Gather Repair Materials
Before you dive into fixing rock chips on your car hood, gathering the right materials is crucial. Having everything ready ensures the repair goes smoothly and the final result looks professional. Missing a key tool or using the wrong paint can turn a simple job into a frustrating experience.
Essential Tools
Start by collecting basic tools designed for small paint repairs. You'll need a fine-tip paintbrush or a touch-up pen for precision. Sandpaper with a very fine grit (around 1500-2000) helps smooth out any rough edges around the chip.
Other must-haves include:
- Automotive primer to protect the metal and help paint stick
- Clear coat to seal and protect the repair area
- Microfiber cloths for cleaning and wiping
- Rubbing alcohol or wax remover to prep the surface
Having these tools handy prevents interruptions and keeps your focus on fixing the chip instead of hunting for supplies.
Choosing The Right Paint
Matching your car’s paint color exactly is key to making rock chip repairs invisible. Find your car’s paint code, usually located on a sticker inside the driver’s side door or under the hood. This code helps you buy the exact color from automotive stores or online.
Don’t guess the color or try to mix on your own; even small differences will stand out. If you’re unsure, many auto paint shops offer custom mixing services based on your paint code. This step might feel tedious, but it’s the difference between a seamless fix and a patchy look.
Have you ever painted over a chip only to notice it looked off in sunlight? Taking time to get the right paint will save you from that disappointment. Remember, quality paint and exact color matching make your repair last longer and look better.
Prepare The Car Hood
Clean the hood thoroughly to remove dirt and grease. Dry it completely before starting any repairs. This ensures the paint will stick well and the fix lasts longer.
Preparing your car hood is essential before fixing rock chips. A clean and smooth surface ensures better repair results. Follow these steps to prepare your car hood effectively.
Clean The Area
Start by washing the car hood thoroughly. Use car soap and water to remove dirt and debris. Ensure the area around the chip is spotless. Rinse well and dry using a soft cloth. A clean surface allows the repair material to stick better. Avoid leaving any moisture behind.
Sand The Chip Edges
Use fine-grit sandpaper to smooth the chip edges. Sand gently to avoid scratching the paint. This step helps the repair material bond with the surface. Circular motions work best for even sanding. After sanding, wipe away dust with a microfiber cloth. Ensure the area is completely clean before proceeding.

Credit: www.reddit.com
Apply Primer And Paint
Applying primer and paint is a crucial part of fixing rock chips on your car hood. This step protects the metal from rust and restores the surface's smooth look. Proper application ensures the repair lasts longer and blends well with the rest of the paint.
Use Primer For Better Adhesion
Primer helps the paint stick firmly to the metal surface. It also seals any exposed metal, preventing rust. Apply a thin, even layer of primer over the chipped area. Let it dry completely before moving to the next step. A good primer creates a strong base for the paint.
Layer Paint Carefully
Use small amounts of paint at a time. Dab the paint gently onto the primed spot using a fine brush or applicator. Allow each layer to dry before adding another. This process builds up the color gradually and avoids thick, uneven patches. Keep layering until the chip matches the surrounding paint.
Finish With Clear Coat
Finishing rock chip repairs with a clear coat is essential for a smooth and lasting result. The clear coat protects the repaired area from damage and blends it with the car's original paint. This step helps to restore the car hood's shine and prevents rust from forming on exposed metal.
Protect The Repair
Apply a thin layer of clear coat over the repaired area. Use a brush or spray designed for automotive use. This layer seals the paint and shields it from water, dirt, and UV rays. Let the clear coat dry completely before touching the surface. Multiple thin layers work better than one thick layer.
Smooth And Blend
After the clear coat dries, use fine-grit sandpaper to smooth the surface gently. This removes any bumps or uneven spots. Next, polish the area to match the shine of the surrounding paint. Blending the edges carefully will make the repair less visible. The result is a clean, smooth finish that looks natural.
Polish And Wax
After addressing the rock chips on your car hood, polishing and waxing can make a big difference. These steps do more than just improve appearance—they protect your paint and help prevent future damage. Taking time to polish and wax will restore the smoothness and shine your car deserves.
Restore Shine
Polishing removes tiny scratches and dull spots around the chip, helping the surface look uniform again. Use a fine polish with a soft cloth or a dual-action polisher if you have one. This process brightens the paint and blends the damaged area with the rest of your hood.
Think about the last time your car looked truly glossy—did that shine catch your eye? Polishing brings back that mirror-like finish, making the chip less obvious and your car more attractive overall.
Seal The Surface
Waxing seals the paint, locking in the polish and adding a protective barrier. Choose a high-quality car wax and apply it evenly with a microfiber cloth. Waxing shields your car from moisture, dirt, and UV rays, which could worsen chips over time.
Remember, a well-sealed surface is easier to clean and maintain. After waxing, water will bead up and roll off, reducing the chance of rust forming on the exposed metal beneath the chip.
Tips For Preventing Future Chips
Preventing rock chips on your car hood saves time and money. It keeps your car looking new longer. Small habits and simple tools reduce damage risks. Protect your paint and avoid costly repairs.
Drive Safely
Keep a safe distance from other vehicles. This lowers chances of stones hitting your hood. Avoid driving behind trucks or cars carrying loose gravel. Slow down on rough or gravel roads. Sudden speed increases can kick up rocks. Stay alert to road conditions and adjust your driving.
Use Protective Covers
Car covers shield your hood from dust and small debris. Use a soft cover to avoid scratches. Consider a clear protective film made for cars. This film absorbs impacts and hides minor chips. Change or clean covers regularly to keep them effective. Covers protect your paint during parking and storage times.
Frequently Asked Questions
What Causes Rock Chips On A Car Hood?
Rock chips occur when small stones or debris hit the car hood at high speeds. This impact damages the paint, exposing metal underneath and causing chips or scratches.
How Can I Repair Small Rock Chips At Home?
Clean the damaged area, then apply touch-up paint matching your car's color. Use a fine brush for precision. Finish with clear coat for protection and smooth finish.
Is It Necessary To Fix Rock Chips Immediately?
Yes, fixing rock chips promptly prevents rust and further paint damage. Early repair maintains your car’s appearance and resale value.
Can Rock Chip Repair Prevent Rust Formation?
Properly repairing rock chips seals exposed metal, stopping moisture and air contact. This prevents rust from forming and spreading on your car hood.
Conclusion
Fixing rock chips on your car hood protects its look and value. Small chips can turn into rust spots if ignored. Quick action keeps your paint smooth and strong. Use the right tools and follow simple steps carefully. A little care goes a long way for your car’s appearance.
Keep checking for new chips after long drives. Your car will stay looking fresh and well cared for. Simple repairs save money compared to big paint jobs later. Take pride in maintaining your vehicle’s shine every day.