Are you looking to give your car bumper a fresh, flawless look without spending a fortune? Painting your car bumper with spray paint might seem tricky, but with the right steps, you can achieve a professional finish right at home.
Imagine turning heads with a smooth, shiny bumper that looks brand new. In this guide, you’ll discover simple tips and proven techniques that make the process easy and satisfying. Ready to save money and boost your car’s appearance? Let’s dive in and show you how to paint your car bumper with spray like a pro.

Credit: www.youtube.com
Gathering Materials
Before you start painting your car bumper with spray paint, gathering the right materials is crucial. Having everything ready saves time and prevents frustration during the process. It also ensures you get a smooth, professional finish without unnecessary mistakes.
Essential Tools
Start by collecting all the tools you’ll need. This includes:
- Spray paint cans- Choose high-quality cans designed for automotive use.
- Primer- A must-have for better paint adhesion and durability.
- Sandpaper- Various grits (320, 600, and 1500) to prep and smooth the surface.
- Masking tape and paper- To protect areas you don’t want painted.
- Protective gear- Gloves, masks, and goggles to keep you safe.
- Cleaning supplies- Degreaser or rubbing alcohol to clean the bumper before painting.
Do you have a dedicated workspace? A well-ventilated, dust-free area is essential to avoid dirt landing on your wet paint.
Choosing The Right Paint
Picking the right spray paint can make or break your project. Automotive spray paints come in different types, such as acrylic, enamel, and lacquer. Acrylic paints are easier for beginners and dry quickly, while enamel offers a harder finish but takes longer to dry.
Look for paints that match your car’s color code exactly. You can find this code on a sticker inside the driver’s door or in the owner’s manual. Matching the color perfectly avoids noticeable differences that can make your repair stand out.
Have you considered the finish? Glossy paints give a shiny look, while matte finishes offer a more subtle effect. Think about what fits your car’s style and your personal taste before buying.
Preparing The Bumper
Preparing the bumper is the first key to a smooth paint job. It ensures the paint sticks well and looks even. Skipping this step can cause peeling or uneven color. Take time to prepare the surface carefully. This section covers cleaning, sanding, and masking the bumper.
Cleaning The Surface
Start by washing the bumper with soap and water. Remove all dirt, grease, and grime. Use a clean cloth to wipe it dry. Next, use a wax and grease remover. This step removes any oily residue left behind. A clean surface helps the paint bond better.
Sanding Techniques
Sand the bumper to create a smooth base for the paint. Use 400 to 600 grit sandpaper for best results. Sand in a circular motion to even out scratches. Focus on rough spots and old paint chips. After sanding, wipe the bumper with a damp cloth. This removes dust and prepares it for primer.
Masking Surrounding Areas
Protect areas you don’t want to paint. Use painter’s tape to cover lights, grills, and trim. Also, cover nearby panels with plastic sheets or newspaper. Masking keeps the paint job clean and professional. Check all edges to ensure no spots are exposed.
Priming The Surface
Clean the bumper thoroughly to remove dirt and grease. Apply a primer evenly to help the paint stick and last longer. Let the primer dry completely before painting.
Priming the surface is a crucial step in painting a car bumper. It ensures the paint adheres properly and lasts longer. Without a good primer, the paint can chip or peel off easily. Proper priming also helps hide imperfections, giving a smooth finish.
Selecting The Primer
Choose a primer suitable for car surfaces. Look for one designed for plastic bumpers. This ensures better adhesion and durability. Check the color of the primer. A gray or white primer works best for most paint colors. Read the label for application instructions.
Applying Primer Evenly
Shake the primer can well before use. Hold the can about 12 inches from the bumper. Spray in light, even coats. Overlap each pass slightly to avoid streaks. Apply two to three coats for full coverage. Allow each coat to dry before applying the next.
Drying Time
Let the primer dry completely. Check the can for recommended drying time. Usually, it takes about 30 minutes. Ensure the surface is completely dry before painting. This prevents paint from peeling or bubbling.

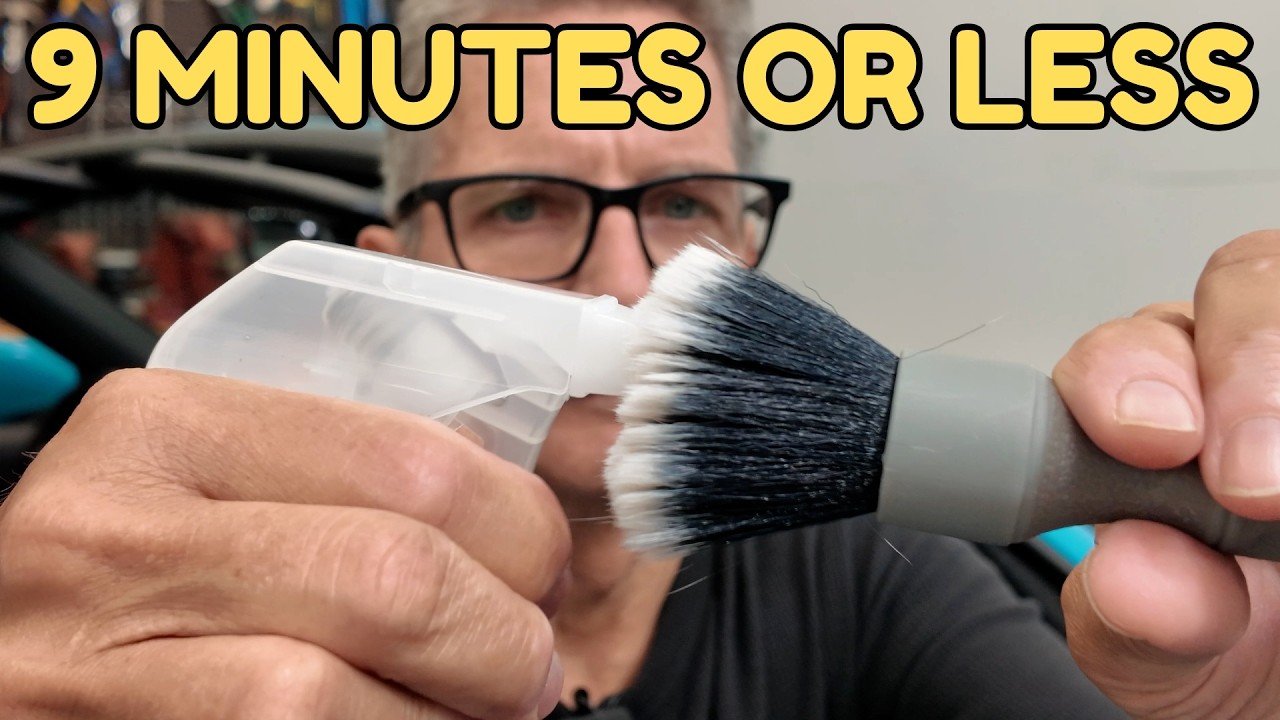
Credit: m.youtube.com
Spray Painting Process
The spray painting process is key to achieving a smooth, even finish on your car bumper. It requires patience, attention to detail, and proper technique. Each step impacts the final look and durability of the paint.
Following the right steps ensures the paint adheres well and avoids runs or blotches. It also helps the paint dry evenly, creating a professional appearance. The process starts with preparing the spray can and ends with applying multiple coats carefully.
Shaking The Can Properly
Shake the spray can for at least one minute. This mixes the paint inside and prevents clumps. Keep the can upright and use a smooth, steady motion. Stop shaking only when you hear the mixing ball move freely inside. Proper shaking ensures consistent color and texture.
Spray Techniques
Hold the can about 6 to 8 inches from the bumper surface. Use smooth, side-to-side motions, overlapping each pass slightly. Avoid spraying too close or too far to prevent drips or thin coverage. Start spraying just before the bumper and stop just after to keep edges clean.
Multiple Coats And Drying
Apply several thin coats rather than one thick coat. Thin layers dry faster and reduce runs. Wait about 10 to 15 minutes between each coat to allow drying. After the final coat, let the bumper dry for at least 24 hours before handling. Proper drying time improves paint hardness and shine.
Finishing Touches
The final stage of painting a car bumper is crucial for a smooth, lasting finish. Finishing touches protect the paint and make it look professional. These steps enhance color depth and add shine. Proper care here ensures your bumper stays vibrant and strong.
Applying Clear Coat
Clear coat shields the paint from scratches and sunlight. Use a spray clear coat made for automotive use. Hold the spray can about 6-8 inches from the surface. Spray in even, light layers to avoid drips. Allow each layer to dry before applying the next. Usually, 2-3 layers provide good protection. Let the clear coat cure for at least 24 hours in a dust-free area.
Polishing For Shine
Polishing removes minor imperfections and boosts shine. Use a fine polishing compound and a soft cloth or buffer. Work in small sections with gentle pressure. Move the polisher in circular motions for an even finish. Wipe off residue with a clean microfiber cloth. Polishing enhances the smoothness and gloss of the bumper. This step brings out the best in your paint job.

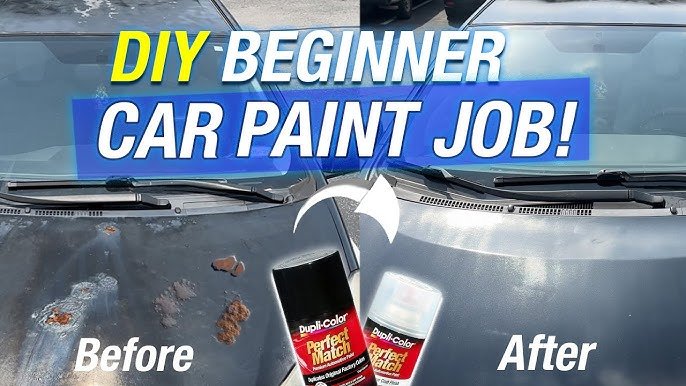
Credit: m.youtube.com
Common Mistakes To Avoid
Painting a car bumper with spray paint can dramatically improve your vehicle’s look. However, it’s easy to slip up and ruin your hard work. Recognizing common mistakes helps you avoid frustration and achieve a smooth, professional finish.
Skipping Proper Surface Preparation
One of the biggest errors is not cleaning and sanding the bumper thoroughly. Dust, grease, and old paint can prevent the new paint from sticking properly.
Imagine spending hours painting only to see the paint peel off days later. Taking your time to wash, sand, and prime the surface is non-negotiable for durability.
Applying Spray Paint Too Close Or Too Far
Holding the spray can too close causes drips and uneven spots. On the other hand, spraying from too far away results in a thin, patchy coat.
Keep a consistent distance of about 6 to 8 inches from the bumper. Practice on a scrap piece to get a feel for the right range before starting on your car.
Ignoring Environmental Conditions
Painting in high humidity or wind can ruin your finish. Moisture causes bubbling, while wind blows dust onto the wet paint.
Choose a dry, calm day or paint inside a garage. Have you ever noticed how paint jobs look flawless indoors but get speckled outside? That’s why environment matters.
Not Using Thin, Even Coats
Spraying thick layers might seem faster but leads to runs and uneven texture. Thin coats let the paint dry evenly and build up a solid finish.
Spray in light passes and allow each coat to dry before the next. Patience here saves you from sanding and repainting later.
Failing To Protect Surrounding Areas
Overspray can damage your car’s paint or nearby parts. Mask off areas you don’t want painted with tape and plastic sheets.
Think about the frustration of fixing new mistakes caused by your own paint job. Proper masking keeps your work neat and clean.
Safety Tips
Painting a car bumper with spray paint can be a rewarding DIY project, but it demands strict attention to safety. Ignoring safety precautions can lead to harmful exposure and accidents. Here are some essential safety tips to protect yourself while getting that perfect finish on your bumper.
Wear Proper Protective Gear
Always wear a respirator mask designed for paint fumes to avoid inhaling toxic chemicals. Regular dust masks won’t cut it because spray paint contains volatile organic compounds (VOCs) that can harm your lungs.
Don’t forget safety goggles to shield your eyes from airborne paint particles. Long sleeves and gloves will protect your skin from irritation and chemical burns.
Choose A Well-ventilated Area
Painting in a closed space traps fumes and increases health risks. If you can, work outdoors or in a garage with the door wide open.
Use fans to enhance airflow and push fumes away from your breathing zone. Have you ever felt dizzy or lightheaded while painting? That’s a clear sign your workspace needs better ventilation.
Keep Flammable Materials Away
Spray paints are highly flammable. Avoid smoking or using any open flames near your work area.
Store paint cans and solvents away from heat sources. Even a small spark could trigger a fire, so double-check your surroundings before starting.
Read And Follow Manufacturer Instructions
Each spray paint brand has specific guidelines about usage and safety. Skipping this step can lead to poor results or dangerous mishaps.
Pay close attention to drying times, recommended distances for spraying, and disposal instructions. Have you ever rushed a project only to have it go wrong? Taking time to read instructions saves frustration and keeps you safe.
Frequently Asked Questions
How Do I Prepare A Car Bumper For Spray Painting?
Clean the bumper thoroughly to remove dirt and grease. Sand the surface evenly to create a smooth base. Use a primer to improve paint adhesion and cover imperfections. Allow each layer to dry before proceeding to the next step.
What Type Of Spray Paint Is Best For Car Bumpers?
Use automotive spray paint designed for plastic or flexible surfaces. Choose paint that matches your car’s color code. Opt for high-quality, durable paint that resists chipping and fading. Clear coat spray is essential for a glossy, protective finish.
How Many Coats Of Spray Paint Are Needed On A Bumper?
Apply 2 to 3 thin coats of spray paint for even coverage. Wait about 10 to 15 minutes between coats to prevent runs. Avoid thick layers to ensure smooth drying and a professional look.
Can I Paint A Bumper Without Removing It From The Car?
Yes, you can paint the bumper while attached, but it’s harder. Mask surrounding areas carefully to prevent overspray on the car. Removing the bumper provides better access and cleaner results but requires more work.
Conclusion
Painting a car bumper with spray paint is simple and effective. Take your time and prepare the surface well. Use smooth, even strokes for the best finish. Let each coat dry before applying the next. Clean tools and work in a ventilated space.
This process helps your bumper look fresh and new again. Practice patience and care for good results. Your car will stand out with a neat, smooth bumper paint job. Try it yourself and enjoy the satisfaction of DIY work.