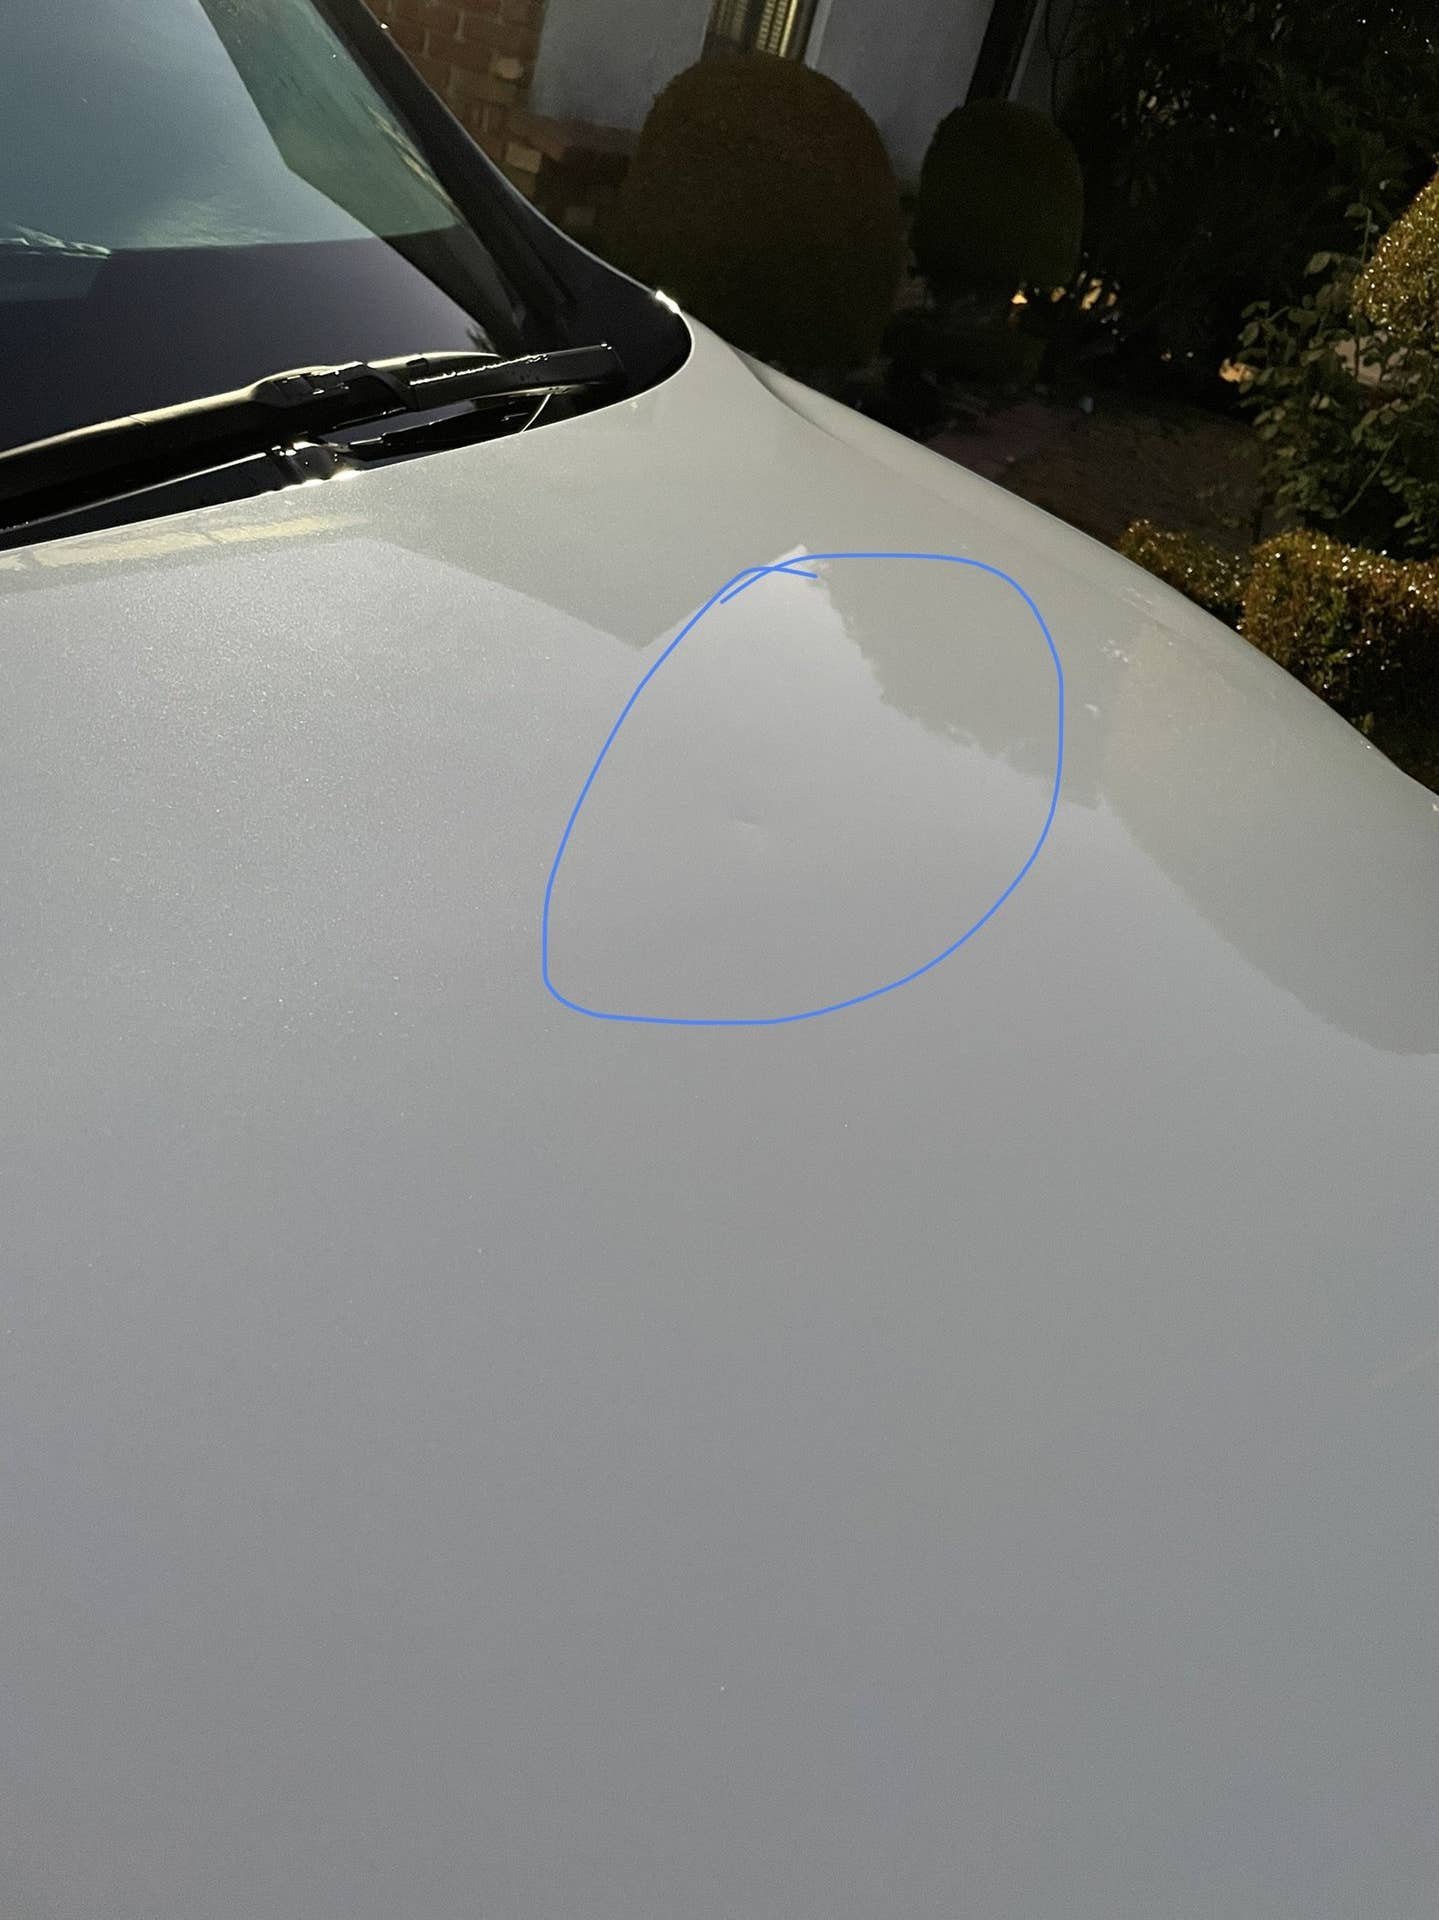
Have you noticed a dent on your car hood that just won’t go away? It’s frustrating to see your vehicle’s smooth surface marred by a dent.
But here’s the good news: you don’t have to spend a fortune at the repair shop. You can fix that dent yourself, save money, and restore your car’s look in no time. In this guide, you’ll discover simple, effective steps to repair the dent on your car hood.
Ready to bring back that flawless finish? Keep reading, and you’ll learn how easy it can be to get your car looking like new again.
Tools And Materials Needed
Repairing a dent in your car hood requires the right tools and materials. Using proper equipment makes the process easier and gives better results. You do not need expensive tools. Many items are affordable and easy to find.
Gathering all tools before starting saves time. It also helps avoid mistakes. Below are essential tools and materials needed for dent repair.
Basic Hand Tools
- Rubber mallet – for gentle tapping without damaging paint
- Screwdrivers – to remove any parts blocking the dent
- Pliers – useful for pulling or adjusting metal edges
- Sandpaper – for smoothing rough areas after repair
Dent Repair Kits
- Glue gun with glue sticks – to attach pulling tabs
- Pulling tabs – to pull out the dented metal
- Slide hammer or dent puller – to pull the dent out effectively
- Plastic or metal spreader – for applying body filler smoothly
Body Filler And Paint Supplies
- Body filler (such as Bondo) – to fill small dents or imperfections
- Putty knife – to spread the filler evenly
- Primer spray – prepares the surface for paint
- Touch-up paint – matches your car’s color for a clean finish
- Clear coat spray – protects the paint and adds shine
Safety Gear
- Gloves – protect your hands from chemicals and sharp edges
- Safety glasses – prevent dust and debris from entering your eyes
- Dust mask – protects lungs from dust and fumes
Assessing The Damage
Assessing the damage on your car hood is the crucial first step before any repair work. It helps you decide whether you can fix the dent yourself or if you need professional help. Taking a close look at the dent gives you a clear picture of what tools and techniques you'll need.
Examining The Size And Depth Of The Dent
Start by measuring the dent carefully. Small dents under two inches are often easier to fix at home. Deeper dents that crease the metal might require special tools or even replacement panels.
Think about how the dent affects the surface. Is it shallow and smooth, or sharp and jagged? This detail changes the repair approach completely.
Checking For Paint Damage
Look closely at the paint around the dent. If the paint is cracked or chipped, you’ll need to address this to avoid rust. Scratches mean you’ll likely have to sand and repaint after pulling out the dent.
Paint damage often signals a harder impact, so be honest with yourself about your repair skills.
Identifying The Dent Location
Where the dent sits on the hood matters a lot. Dents near edges or curves are trickier because the metal is thinner or shaped differently. Center hood dents usually offer more metal to work with.
Have you noticed how different areas feel under your fingers? This tactile check can guide your repair plan.
Looking For Underlying Structural Issues
Don’t just focus on the surface—check underneath the hood. Sometimes dents come with bent supports or damaged parts beneath the sheet metal. These hidden issues can affect your car’s safety and may need professional inspection.
Ask yourself: Does the hood close properly? Are there unusual gaps? These clues help detect deeper problems.
Preparing The Work Area
Preparing the work area is the first key step to fix a dent in your car hood. A clean, organized space helps you work safely and efficiently. It also protects your car’s paint and parts from damage during repair.
Choose a flat, well-lit area. Natural light works best to spot dents and imperfections. Avoid dusty or windy spots to keep dirt away from the hood.
Clear The Surrounding Space
Remove items around the car to have enough room to move freely. This prevents accidents and lets you handle tools easily. Keep pets and children away to avoid distractions.
Clean The Car Hood Thoroughly
Wash the hood with mild soap and water. Dirt or grease can hide dents and stop repair materials from sticking. Dry the surface completely with a soft cloth to avoid water spots.
Gather All Necessary Tools
Prepare tools like a dent puller, heat gun, sandpaper, and microfiber cloth. Having everything ready saves time and keeps focus on the job. Check tools for damage or wear before use.
Protect Nearby Car Parts
Cover headlights, windshield, and bumper with plastic sheets or cloth. This prevents scratches and heat damage from repair tools. Secure covers with tape to keep them in place.
Credit: www.chevybolt.org
Using A Plunger For Small Dents
A plunger can help pull out small dents on a car hood by creating suction. Press the plunger firmly over the dent, then pull gently to lift the metal back. This simple tool often restores the shape without damaging the paint.
Using a plunger is a simple way to fix small car hood dents. This method is cost-effective and easy for beginners. You just need a common household plunger and some patience. Let's explore how to use a plunger for minor car dents effectively.
Gather Your Tools
First, find a standard cup plunger. Make sure it's clean and free of debris. The plunger should have a smooth edge to create a good seal on the car's surface.
Prepare The Dent Area
Clean the dent area with soap and water. This ensures no dirt interferes with the process. Dry the surface completely with a clean cloth.
Use The Plunger
Place the plunger over the dent. Make sure it covers the dent entirely. Press it firmly to create a tight seal.
Pull Gently
Pull the plunger slowly. Use a steady and firm motion to pop the dent out. Repeat this several times if needed.
Inspect The Result
Check the dent area after each pull. Ensure the dent is smooth and level with the car hood. If not, try the process again. Using a plunger can be a quick fix for small dents. It saves time and money without needing professional help.
Applying Hot Water Method
The hot water method offers a simple and cost-effective way to fix dents on your car hood without professional tools. It works best on plastic or fiberglass hoods, where heat can soften the material, allowing you to push the dent out more easily.
I once used this method on my own car after a minor hailstorm left several small dents. The process was surprisingly straightforward and saved me a trip to the body shop. Wouldn't you like to try something that could get your car looking better in just a few minutes?
Preparing The Area
Start by cleaning the dented area thoroughly. Dirt or grime can interfere with the repair and cause uneven results.
Use soap and water to remove any debris, then dry the surface well. This step ensures the hot water can reach the dented panel properly.
Heating The Dent With Hot Water
Boil water and carefully pour it over the dented section of your hood. The heat will soften the material, making it more flexible.
Make sure the water is hot enough to warm the metal or plastic but not so hot that it could cause damage or burns. Safety first—wear gloves to protect your hands from the heat.
Pushing The Dent Out
Immediately after heating, reach under the hood and press the dent from the inside. Use your hands or a soft tool to avoid scratching the surface.
Apply steady pressure until the dent pops back to its original shape. If the dent doesn’t move easily, reheat the area and try again.
Cooling And Checking The Repair
Once the dent is pushed out, rinse the area with cold water or apply ice to help the material cool and set in place.
Check the surface carefully under good lighting to spot any remaining imperfections. Sometimes a second round of heating and pushing is needed for stubborn dents.
Tips For Best Results
- Use distilled water if possible to avoid mineral spots on your car.
- Don’t overheat the area; excessive heat can damage paint.
- Work in a shaded area to prevent water from drying too quickly.
- Be patient—sometimes dents require multiple attempts.
Using A Hair Dryer And Compressed Air
Using a hair dryer and compressed air is a surprisingly effective way to fix small dents on your car hood without expensive tools. This technique relies on rapid temperature changes to gently pop the metal back into shape. It’s simple, quick, and something you can easily try at home with items you probably already have.
Preparing The Dent Area
First, clean the dent and surrounding area to remove any dirt or grease. This ensures the heat and cold will affect the metal directly. Use a mild soap and water, then dry completely before moving on.
Applying Heat With The Hair Dryer
Set your hair dryer to the highest heat setting. Hold it about 6 inches away from the dent and move it slowly around the area for 1 to 2 minutes. The heat will make the metal expand, softening it and preparing it for the next step.
Cooling The Dent With Compressed Air
Immediately after heating, turn the compressed air can upside down and spray the dent. The rapid cooling will cause the metal to contract quickly, which can cause the dent to pop out. You might hear a slight pop or see the dent start to flatten right before your eyes.
Repeating The Process If Necessary
Sometimes one cycle isn’t enough to fully remove the dent. Repeat the heating and cooling process a few times, but avoid overheating or freezing the paint to prevent damage. Watch closely as the dent changes with each attempt to know when to stop.
Safety Tips And Common Mistakes To Avoid
- Don’t hold the hair dryer too close—overheating can damage your car’s paint.
- Use short bursts of compressed air to avoid moisture buildup.
- Avoid using this method on cracked or chipped paint as it may worsen the damage.
Have you ever fixed a dent without professional help? Trying this method might surprise you with how effective simple tools can be.
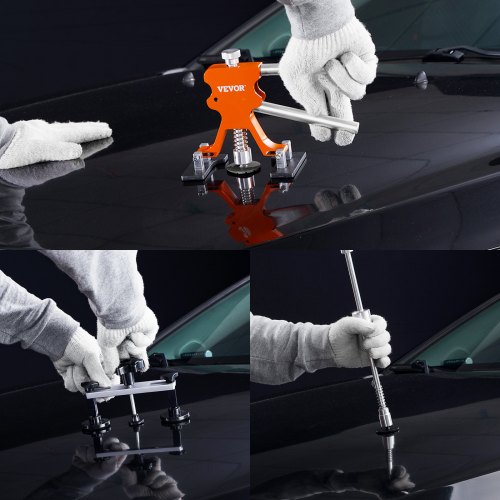
Utilizing A Dent Repair Kit
Utilizing a dent repair kit offers a simple way to fix small dents on a car hood. These kits come with tools designed to pull out dents without damaging the paint. They provide an affordable and quick solution for minor car hood repairs.
Most kits include glue sticks, a pulling tool, and tabs to attach to the dent. The process requires patience and careful handling to avoid making the dent worse. It works best on dents with smooth edges and no paint cracks.
Preparing The Car Hood Surface
Clean the dent area thoroughly before starting. Remove dirt, wax, and grease using soap and water. Dry the surface completely for better glue adhesion. A clean surface ensures the repair tools stick properly.
Attaching The Pulling Tab
Choose a pulling tab that fits the dent size. Heat the glue stick and apply glue to the tab’s flat side. Press the tab firmly onto the center of the dent. Wait a few minutes for the glue to set and bond well.
Using The Dent Puller Tool
Attach the pulling tool to the tab firmly. Pull gently and steadily to lift the dent out. Avoid pulling too hard to prevent paint damage. Repeat the pulling process if the dent does not come out fully on the first try.
Removing Glue Residue
After the dent is repaired, remove the tab carefully. Use the glue remover included in the kit. Wipe the surface gently with a clean cloth. This step restores the hood’s smooth finish without harming the paint.

Credit: www.youtube.com
Sanding And Smoothing The Surface
Before you paint over a dent, sanding and smoothing the surface is crucial. This process removes any rough edges and ensures the filler adheres well. Skipping this step can leave your repair looking uneven and unprofessional.
Choosing The Right Sandpaper Grit
Start with a coarse grit sandpaper, like 80 or 120 grit, to remove paint and smooth out the dent edges. As the surface becomes more even, switch to finer grits such as 220 or 320 for a smoother finish. Using the right grit at each stage saves you time and prevents unnecessary scratches.
Proper Sanding Techniques
Use gentle, circular motions to avoid gouging the metal. Keep your sanding block flat and move evenly across the surface. Have you ever noticed uneven sanding marks on a car? That usually means too much pressure or inconsistent movement.
Checking For Surface Imperfections
After sanding, wipe the area with a clean cloth to spot any remaining bumps or scratches. Shine a light across the surface at an angle to reveal low spots you might have missed. This helps you decide if more filler or sanding is needed before painting.
Priming And Painting
Priming and painting your car hood after repairing a dent is a crucial step to restore its appearance and protect the metal from rust. This process not only seals the repaired area but also ensures the paint adheres properly for a smooth, even finish.
Preparing The Surface For Primer
Start by cleaning the hood thoroughly to remove dust, grease, and any leftover sanding residue. Use a tack cloth or a damp rag to wipe down the surface, ensuring it’s completely dry before applying primer.
Next, lightly sand the repaired area with fine-grit sandpaper to create a rough texture. This helps the primer stick better and smooths out any imperfections you might have missed. Have you noticed how a well-prepped surface makes painting easier and more durable?
Applying The Primer
Choose a primer that matches your car’s paint type—usually an automotive epoxy or urethane primer works best. Hold the spray can or gun about 6-8 inches away and apply thin, even coats rather than one heavy layer to avoid drips.
Allow each coat to dry as per the instructions on the primer can, usually about 15-30 minutes. Sand lightly between coats with very fine sandpaper to ensure a perfectly smooth base for painting.
Painting The Hood
Pick the exact color match for your car’s paint. You can find the code inside the driver’s door or ask at an auto parts store. Spray in even, light layers, moving the spray can steadily across the hood to avoid uneven spots.
Paint in a well-ventilated area and wear a mask for safety. Let each coat dry completely before adding the next. Multiple thin coats build up a rich, professional-looking finish without runs or bubbles.
Finishing Touches And Clear Coat
Once the paint dries, apply a clear coat to protect the paint and give it a glossy shine. Use the same spraying technique as with the paint—thin, even layers with drying time in between.
After the clear coat dries, you can lightly polish the area with automotive rubbing compound to blend the repaired section seamlessly with the rest of the hood.
Credit: www.vevor.com
Preventing Future Dents
Protect the car hood by parking away from tight spaces and sharp objects. Regularly washing and waxing helps keep the surface strong against dents. Use a car cover to shield it from falling debris and weather damage.
Preventing future dents on your car hood can save time and money. Being proactive can help maintain your car's appearance. Simple steps can make a big difference in keeping your car dent-free.
Choose Safe Parking Spots
Park your car in safe areas. Avoid tight spaces and crowded lots. This reduces the risk of accidental dents from other cars.
Use A Car Cover
A car cover protects against falling debris. It acts as a shield, keeping your hood safe from minor impacts.
Install A Hood Protector
Hood protectors are affordable and easy to install. They guard against stones and small objects on the road.
Regular Maintenance Checks
Inspect your car hood regularly. Early detection of minor issues can prevent bigger problems. A quick check can save you from costly repairs later.
Avoid Overloading
Do not place heavy objects on the hood. Overloading can cause dents and damage. Keep the hood clear to maintain its shape and integrity.
Educate Family And Friends
Inform those who use your car about caring for it. Simple awareness can prevent careless actions leading to dents.
Frequently Asked Questions
How Do I Fix A Small Dent In My Car Hood?
To fix a small dent, use a plunger or hot water to pop it out gently. Avoid harsh tools to prevent paint damage.
Can I Repair Car Hood Dents Without Professional Help?
Yes, minor dents can be repaired at home using DIY kits or household items like a hairdryer and compressed air.
What Tools Are Needed To Repair A Dent In A Car Hood?
Common tools include a plunger, dent repair kit, hairdryer, compressed air, and plastic or rubber mallets for safe dent removal.
How Long Does It Take To Repair A Dent In A Car Hood?
DIY dent repair typically takes 30 minutes to an hour, depending on the dent size and your experience level.
Conclusion
Fixing a dent in your car hood is easier than you think. Small dents can often be repaired at home with basic tools. Take your time and follow each step carefully. A smooth, dent-free hood improves your car’s look and value.
Regular care prevents rust and bigger problems later. Remember, patience and gentle handling work best. Try the repair yourself before visiting a shop. Save money and feel proud of your work. Keep your car looking its best with simple fixes like this.