If your Nissan Altima's headlight bulb has burned out, you don’t have to spend money at a mechanic or struggle in the dark. Changing the bulb yourself is easier than you might think—and it saves you time and hassle.
In this guide, you’ll find simple, step-by-step instructions that anyone can follow, even if you’ve never done car maintenance before. By the end, you’ll have your headlights shining bright again, making your drives safer and giving you peace of mind.
Keep reading to learn exactly how to replace your Nissan Altima’s headlight bulb quickly and correctly.
Credit: www.walmart.com
Tools And Materials Needed
Before you start replacing your Nissan Altima headlight bulb, gathering the right tools and materials is essential. Having everything ready saves time and prevents frustration mid-task. It also ensures you can complete the replacement smoothly and safely.
Necessary Tools For The Job
- Screwdrivers:A flathead and a Phillips screwdriver are often needed to remove screws from the headlight housing or covers.
- Socket Wrench Set:A small socket wrench, usually 8mm or 10mm, helps in loosening bolts that secure the headlight assembly.
- Gloves:Wearing gloves prevents oils from your fingers transferring to the new bulb, which can shorten its lifespan.
- Flashlight:A bright flashlight or work light helps you see clearly inside the engine bay, especially if you’re working in low light.
Materials You Will Need
- Replacement Bulb:Make sure to buy the exact bulb model that fits your Nissan Altima. Check your owner’s manual or the old bulb for the correct type.
- Cleaning Cloth:A lint-free cloth is handy to clean the headlight lens or housing before reassembling.
Tips To Consider Before Starting
Have you ever tried fixing a part only to realize you needed a specific tool halfway through? It’s frustrating and wastes time. Preparing your workspace and tools ahead can prevent that hassle.
Think about your safety too. Using gloves and proper lighting isn’t just about convenience; it protects both you and your car’s components. Do you have a comfortable place to work where you can keep all these tools within reach?
Safety Precautions
Handling your Nissan Altima’s headlight bulb replacement involves more than just swapping out parts. Taking safety precautions seriously can protect you from injury and prevent damage to your vehicle.
Imagine trying to replace a bulb without disconnecting the battery and suddenly getting a small shock. It’s a simple mistake that can easily be avoided with the right preparation.
Disconnect The Battery To Avoid Electrical Shock
Before you start, always disconnect your car's battery. This step cuts off power and eliminates any risk of electric shock while working on the headlight bulb.
Even if the vehicle is off, residual power can still cause sparks or shocks. Removing the negative terminal cable is quick and ensures your safety.
Wear Gloves To Protect Your Hands And The Bulb
Wearing gloves prevents oils from your skin from transferring onto the new bulb. These oils can cause the bulb to overheat and fail prematurely.
Gloves also protect your hands from sharp edges inside the headlight housing. This simple precaution saves you from cuts and extends the life of your new bulb.
Work In A Well-lit And Stable Environment
Choose a location with good lighting and stable footing. You want to avoid fumbling or dropping parts in dimly lit or uneven areas.
A flat surface helps keep tools and bulbs from rolling away or breaking, saving you time and frustration.
Allow The Headlight To Cool Before Touching
Headlight bulbs can become extremely hot after use. Touching them immediately might cause burns or damage the bulb.
Give your car a break and wait at least 15 minutes after driving before starting the replacement process. Safety first, always.
Locate The Headlight Assembly
The headlight assembly sits at the front corner of your Nissan Altima. Open the hood to find it behind the headlight lens. This is where you will access the bulb for replacement.
Replacing a headlight bulb in your Nissan Altima might sound daunting, but it's simpler than you think. The first crucial step is locating the headlight assembly. This component houses the bulb and is the gateway to brightening your path again. Whether you're a seasoned DIY enthusiast or a car maintenance newbie, this task is within your reach. So, where exactly do you start?
Find The Hood Release Lever
Pop the hood! Begin by locating the hood release lever inside your car. It's typically situated below the dashboard, near the driver's side door. Pull it gently to unlock the hood, then step outside and lift the hood using the latch.
Identify The Headlight Assembly
With the hood open, look directly at the front of your car. The headlight assembly is easy to spot—it's the clear casing that houses the headlights. Depending on your Altima model, you might find it right next to the grille or slightly recessed into the body.
Check For Obstructions
Before proceeding, ensure there's nothing blocking your access to the headlight assembly. You might need to move a few cables or components, so take a moment to assess the space. If necessary, remove any covers or panels that might be in your way.
Access The Rear Of The Headlight Assembly
Once you've located the assembly, direct your attention to the rear. This is where you'll find the connectors and the bulb housing. Feel for the round, rubber or plastic cover—this is your ticket to accessing the bulb. Why not take a moment to appreciate the simplicity of your Altima's design? Nissan has engineered it to make maintenance tasks like this straightforward and accessible. Are you ready to continue the journey of replacing that bulb?
Remove The Old Bulb
Removing the old headlight bulb from a Nissan Altima is simple with the right approach. This step is crucial for replacing the bulb safely and effectively. Follow each part carefully to avoid damage and ensure a smooth process.
Accessing The Bulb Socket
Open the hood of your Nissan Altima and locate the headlight assembly. The bulb socket sits at the back of the headlight housing. Clear any covers or caps blocking the access. Sometimes, you may need to move parts like the battery or air filter box slightly. Make sure you have enough space to work comfortably.
Disconnecting The Wiring
Find the wiring connector attached to the bulb socket. Gently press the tab or clip that holds the connector in place. Pull the connector straight back to unplug it from the bulb. Avoid pulling the wires themselves to prevent damage. If the connector feels stuck, wiggle it lightly while pulling.
Taking Out The Bulb
Turn the bulb socket counterclockwise to unlock it from the headlight assembly. Carefully pull the socket and bulb out together. Hold the bulb by its base, not the glass, to avoid oils from your skin. If the bulb is stuck, check for any clips or screws securing it. Remove those before trying again.
Install The New Bulb
Installing the new headlight bulb in your Nissan Altima is a task that requires attention to detail and a gentle touch. Each action you take here impacts the bulb’s performance and longevity. Let’s walk through how to get that new bulb fitted correctly so your headlights shine bright and clear.
Handle The Bulb Carefully
Always hold the new bulb by its base, not the glass. Oils and dirt from your fingers can cause the bulb to heat unevenly and burn out prematurely.
Use a clean cloth or gloves if you have them. Think about how many times you’ve touched your phone screen today—just like that, even small smudges affect the bulb’s lifespan.
Insert And Secure The Bulb
Slide the bulb gently into the headlight housing. Make sure it fits snugly without forcing it in, which could damage the bulb or socket.
Turn or clip the bulb into place according to the design of your Altima’s headlight assembly. A secure fit means no flickering or movement while driving—have you ever noticed a flickering headlight and ignored it?
Reconnect The Wiring
Attach the wiring connector firmly to the bulb’s base. Listen for a click or feel a secure fit to ensure it won’t come loose on the road.
Double-check the connection by gently tugging the wire. A loose connection can cause intermittent lighting, which is dangerous and frustrating during night drives.

Credit: www.carifex.com
Test The New Headlight
After you have installed the new headlight bulb in your Nissan Altima, it’s essential to test it properly. This step ensures your safety and confirms that the replacement was successful. Testing helps you spot any issues early, so you don’t end up driving with a faulty headlight.
Turn On Your Headlights
Start by turning on your car’s headlights. Make sure to switch between low beam and high beam settings. This simple action lets you confirm if the bulb lights up correctly in both modes.
Check The Brightness And Alignment
Stand in front of your car and observe the light beam. Is it bright and steady? Look for any flickering or dim spots. Proper alignment is also crucial—if the beam points too high or low, your visibility on the road will be compromised.
Inspect For Any Unusual Flickering Or Noise
Listen closely while the headlights are on. Any buzzing or flickering may indicate a loose connection or a faulty bulb. Catching these signs early can save you from future electrical problems.
Test The Headlight In Different Driving Conditions
If possible, take your car for a short drive at night. Notice how the headlight performs in actual driving conditions. Does the beam illuminate the road clearly? How does it handle turns and hills?
Double-check Both Headlights
Even if you replaced only one bulb, check both headlights. Sometimes the other bulb might be close to burning out as well. This quick check can help you avoid another headlight failure soon after.
Have you ever driven with a dim or misaligned headlight? How did it affect your confidence on the road? Testing your new headlight thoroughly is the last step to ensure safe and comfortable driving every night.
Troubleshooting Common Issues
Replacing a Nissan Altima headlight bulb can be straightforward. Yet, some issues may arise during the process. Troubleshooting these problems early helps save time and effort. Understanding common issues ensures the new bulb works correctly and safely.
Some problems relate to the bulb itself. Others involve the car's wiring or connectors. Identifying the cause leads to effective fixes. Below are common issues and how to address them.
Headlight Bulb Won't Light Up
Check if the bulb is properly seated in the socket. Loose connections cause no light. Inspect the wiring for damage or corrosion. A blown fuse may also stop power flow to the headlight. Replace any faulty parts before testing again.
Dim Or Flickering Headlights
Dirty or oxidized bulb contacts reduce brightness. Clean contacts with electrical contact cleaner. Check the car battery voltage; low power can cause flickering. Also, inspect the alternator for charging issues. Tighten or replace loose or worn wiring connectors.
Headlight Flickers When Driving
Vibration from road bumps can affect connections. Secure all wiring harnesses near the headlight. Look for broken wires or loose plugs. Replace worn parts to prevent intermittent flickering. Test the headlight on a smooth road after repairs.
Bulb Burns Out Quickly
High voltage or incorrect bulb type shortens bulb life. Use the recommended bulb model for Nissan Altima. Avoid touching the glass part of the bulb with bare hands. Oil residue causes hot spots leading to early failure. Check the vehicle’s electrical system for voltage spikes.
Tips For Maintaining Headlights
Maintaining your Nissan Altima headlights keeps them bright and safe. Clean and well-kept headlights improve visibility during night driving. Simple habits extend the life of the bulbs and lenses. Regular attention prevents costly repairs and replacements.
Clean Headlights Regularly
Dirt and grime reduce light output. Use a soft cloth and mild soap to clean lenses. Avoid harsh chemicals that can damage plastic covers. Clean headlights at least once a month for clear light.
Check For Moisture Inside Headlights
Moisture can cause fogging and damage bulbs. Look for condensation inside the headlight housing. Fix leaks or replace seals to keep moisture out. Dry headlights improve light clarity and bulb life.
Avoid Touching Bulbs With Bare Hands
Oils from skin cause bulbs to overheat and burn out fast. Use gloves or a clean cloth when handling bulbs. Keep bulbs clean for longer use and better light.
Inspect Headlight Alignment
Misaligned headlights reduce visibility and blind other drivers. Check alignment every few months or after hitting bumps. Adjust headlights to the correct angle for safety.
Replace Bulbs Before They Burn Out
Headlights dim over time before burning out completely. Replace bulbs early to avoid sudden darkness. Keep spare bulbs in your car for emergencies.

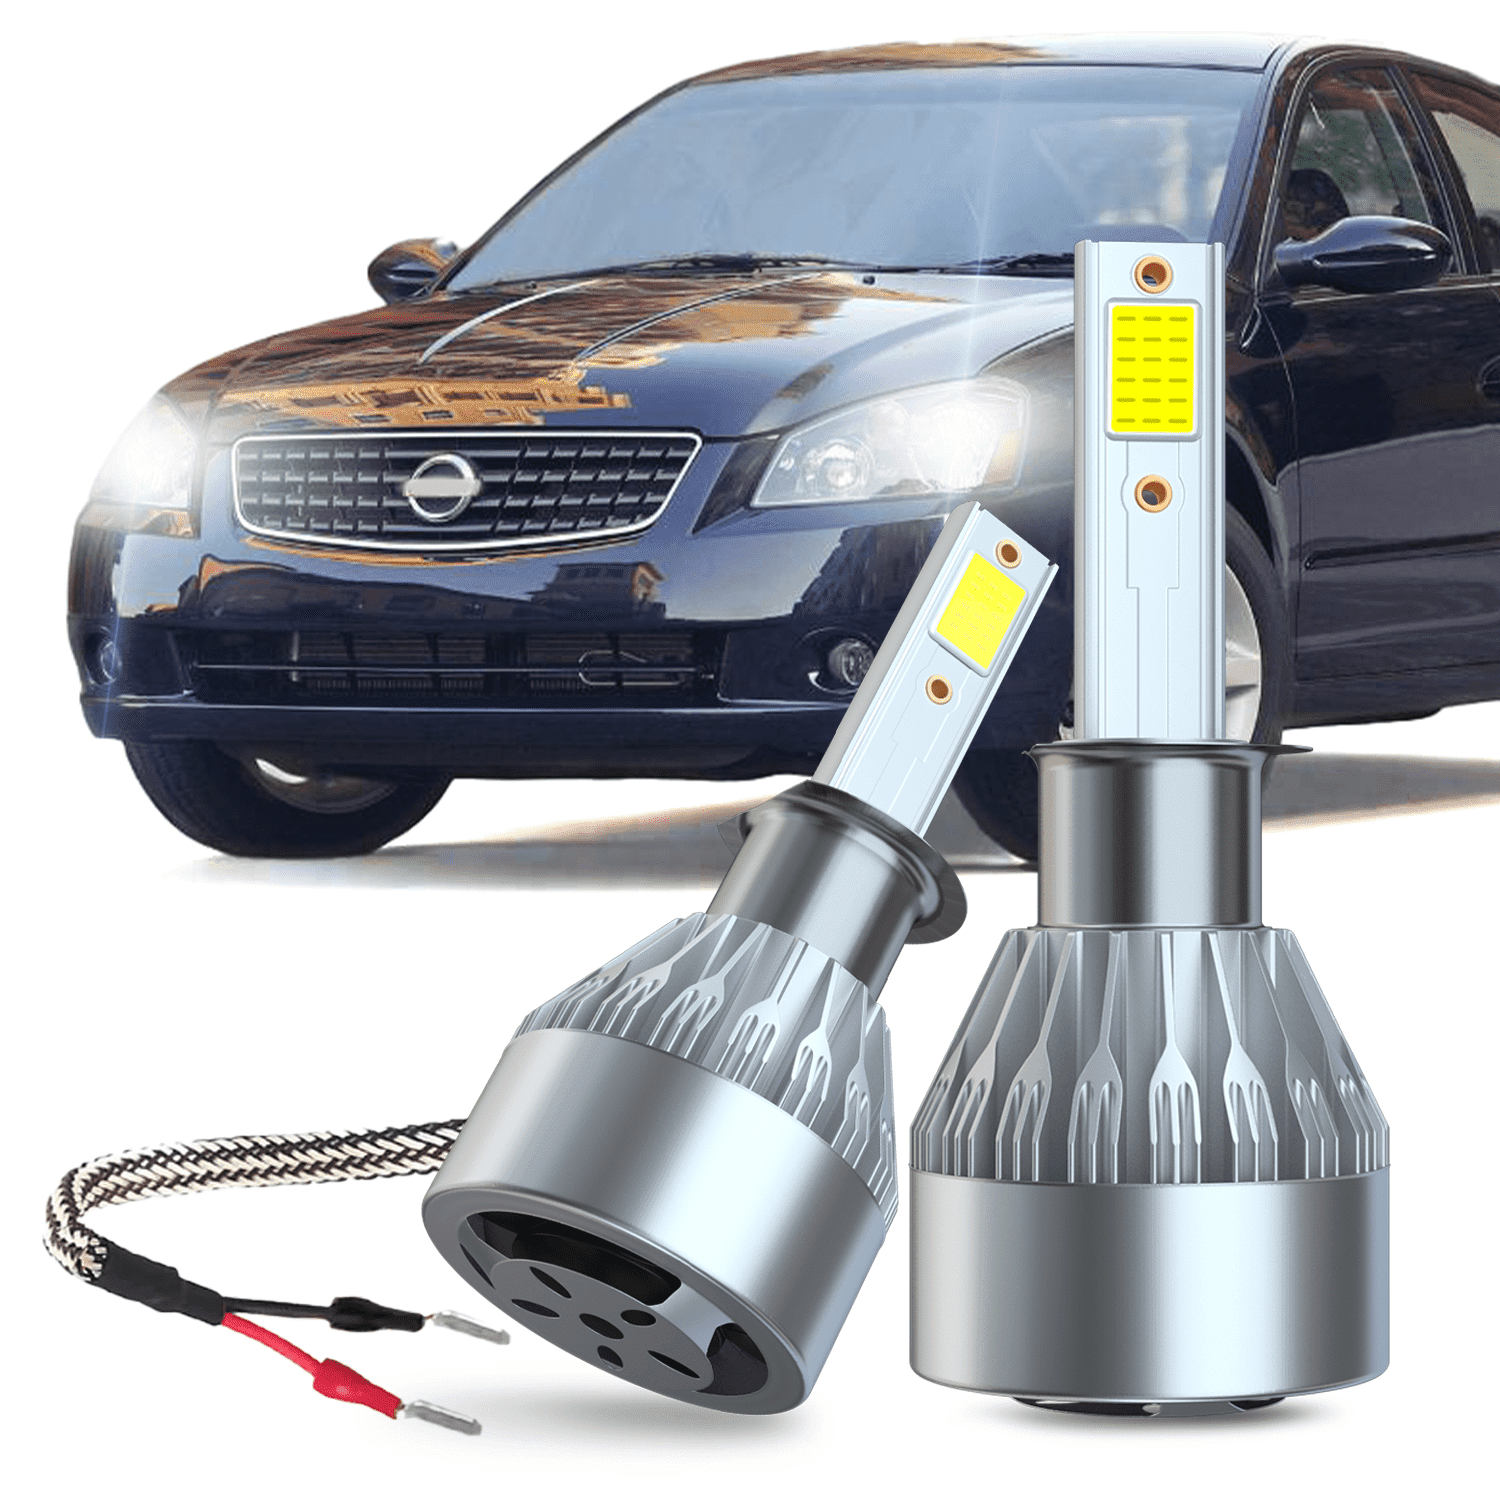
Credit: www.amazon.ca
Frequently Asked Questions
How Do I Change A Nissan Altima Headlight Bulb?
To change the bulb, open the hood and locate the headlight assembly. Disconnect the power connector, remove the old bulb, and insert a new one. Reconnect the power and test the light before closing the hood.
What Tools Are Needed To Replace Altima Headlight Bulbs?
You generally need a flathead screwdriver, gloves, and a replacement bulb specific to your Nissan Altima model. Gloves prevent oils from your skin damaging the bulb, and the screwdriver helps remove any clips or covers.
How Long Does It Take To Replace A Headlight Bulb?
Replacing a Nissan Altima headlight bulb usually takes about 10 to 15 minutes. It’s a simple process, requiring minimal tools and no special skills, making it easy for most car owners.
Can I Use Any Bulb For My Nissan Altima Headlights?
No, you must use the bulb type specified in your Nissan Altima’s owner manual. Using the wrong bulb can damage the headlight assembly or reduce visibility, affecting safety and compliance with regulations.
Conclusion
Replacing a Nissan Altima headlight bulb is simple and quick. You only need a few tools and some care. Follow the steps carefully to avoid mistakes. A bright headlight keeps you safe while driving at night. Check your bulbs regularly to prevent sudden failures.
Doing this yourself saves time and money. Now, you can handle this small repair with confidence. Drive safely and see clearly on every trip.