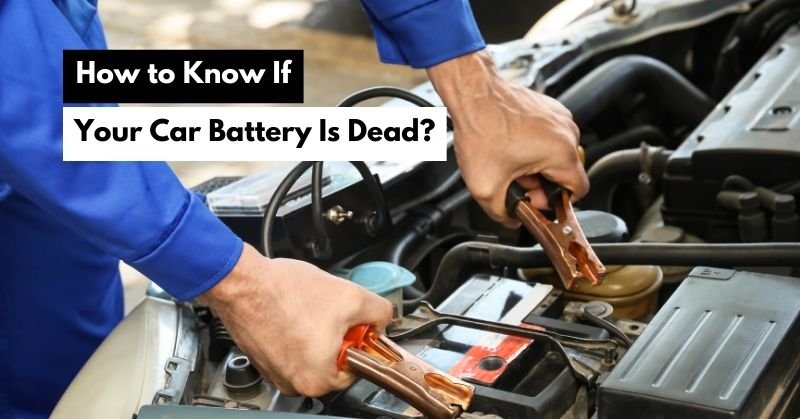
If you’ve ever wondered which cable to connect first when jump-starting or replacing your car battery, you’re not alone. Getting it wrong can be confusing and even risky.
But don’t worry—knowing the right order can save you time, protect your car’s electrical system, and keep you safe. You’ll learn the simple, step-by-step process to connect your car battery cables correctly every time. Keep reading to avoid common mistakes that could cost you more than just a little frustration.

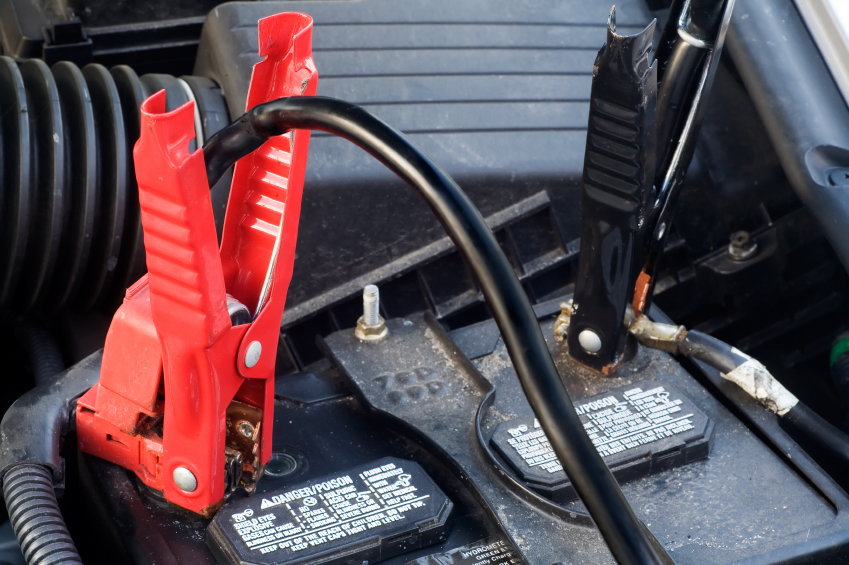
Credit: www.familyhandyman.com
Choosing The Right Cable
Choosing the right cable for connecting a car battery is essential for safety and performance. The correct cable ensures a secure connection and efficient power flow. This choice affects how well your vehicle starts and runs.
Positive Vs Negative Cable
The positive cable connects to the battery's positive terminal. It usually has a red cover or marking. The negative cable links to the negative terminal and often has a black cover. Knowing the difference helps avoid mistakes that can cause sparks or damage.
Cable Thickness And Length
Thicker cables carry more current and resist heat better. Thin cables may overheat and fail. The length matters too. Longer cables can reduce power flow. Keep cables as short as possible without strain. Check your car's manual for recommended thickness and length.
Quality And Material
Cables made from pure copper offer better conductivity. Copper-clad aluminum cables are lighter but less efficient. Look for cables with strong insulation to prevent damage and corrosion. High-quality cables last longer and provide steady power.
Credit: acurazine.com
Preparing For Connection
Preparing to connect your car battery is more than just grabbing the cables and jumping in. It requires careful attention to safety and readiness to avoid accidents and ensure a smooth connection. Taking a moment to prepare properly can save you from costly mistakes and keep you safe.
Safety Gear To Use
Always wear protective gloves and safety glasses before handling the battery. Batteries contain acid that can cause burns or eye damage if spilled or splashed. Thick, non-conductive gloves protect your hands, while safety glasses shield your eyes from unexpected sparks or debris.
Consider using a long-sleeved shirt to protect your arms from acid splashes. Avoid wearing any jewelry or metal accessories that could accidentally create a short circuit. Have a fire extinguisher nearby just in case sparks ignite any flammable materials.
Vehicle Positioning
Position both vehicles so the batteries are close but not touching. This reduces cable length and prevents unnecessary stretching or tension. Ensure the cars are in park (or neutral for manuals) with parking brakes engaged to stop any movement during the process.
Turn off both ignition systems and remove the keys to avoid electrical issues. If possible, move vehicles out of direct sunlight or rain to keep the battery and cables dry and cool. Do you have enough space around you to work comfortably? Crowded spots increase the risk of accidents.
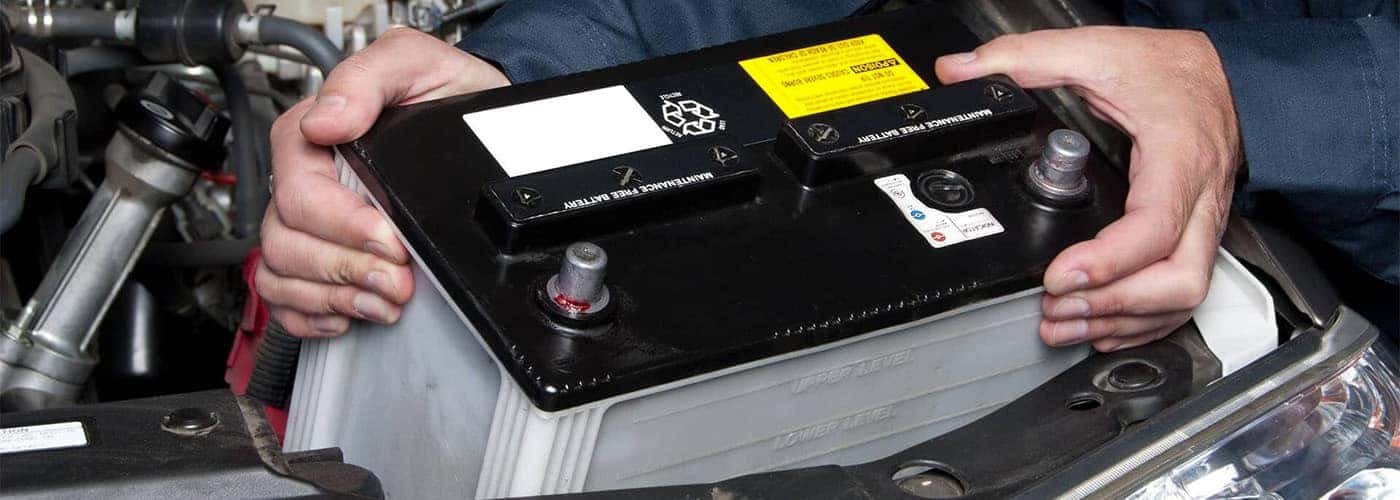
Battery Inspection
Before connecting, check the battery terminals for corrosion, dirt, or damage. Corroded terminals can prevent a good connection and reduce the effectiveness of the jump. Use a wire brush or battery terminal cleaner to remove any buildup.
Look for cracks or leaks in the battery case. A damaged battery can be dangerous and should not be jump-started. Also, confirm the battery voltage and type to ensure compatibility with the cables and the other vehicle’s battery.
Connecting The First Cable
Always connect the positive (red) cable to the battery first. This reduces the risk of short circuits. Then, attach the negative (black) cable carefully to complete the connection.
Connecting the First Cable When connecting a car battery, the sequence in which you connect the cables is crucial. It's not just about getting your car started; it's about ensuring your safety and protecting your vehicle's electrical system. Connecting the first cable correctly can prevent unnecessary risks and costly damage.
Why Positive Cable Goes First
The positive cable is always connected first to reduce the risk of short circuits. By attaching the positive cable first, you minimize the chance of accidentally creating a complete circuit with the car's metal body. This is because the negative terminal is usually grounded to the car's frame. Have you ever wondered why it's recommended to wear gloves during this process? It's to protect against accidental sparks, which are more likely if the negative cable is connected first.
Steps To Attach Positive Cable
- Ensure the car is turned off and the keys are removed from the ignition. - Locate the positive terminal on the battery, usually marked with a "+" sign or a red cover. - Attach the positive cable clamp to the positive terminal, ensuring a snug fit. - Double-check the connection to ensure there’s no looseness or corrosion. By following these steps, you're setting a solid foundation for the next steps in the process. A well-attached positive cable is crucial for a smooth and safe operation.
Avoiding Sparks And Short Circuits
Sparks can cause damage to your battery and potentially harm you. Always keep metal objects away from the battery during the connection process. Ensure that your tools and hands are dry to avoid any accidental conduction. You might be thinking, "Is this really necessary?" Absolutely! Even a small spark can lead to significant issues. By taking these precautions, you're not just caring for your car—you're prioritizing your safety.
Attaching The Second Cable
After attaching the first cable to your car battery, the next step is to carefully connect the second cable. This part is crucial for safety and proper functioning. Knowing exactly how and where to attach this cable can prevent sparks, damage, and even injury.
Connecting Negative Cable Safely
Always connect the negative cable last to minimize the risk of sparks. Instead of attaching it directly to the battery’s negative terminal, find a solid metal part of the car’s frame or engine block to clamp it onto. This reduces the chance of short circuits and protects both you and your vehicle.
Think about a time when you rushed and connected cables the wrong way—did you notice any sparks or unexpected behavior? Taking a moment to ensure safety can save you from costly mistakes.
Proper Grounding Techniques
Grounding is more than just attaching the negative cable; it’s about finding a good connection point that allows electricity to flow back to the battery safely. Use a clean, unpainted metal surface free of rust or grease. A bolt or bracket on the engine block often works well.
Check that the clamp is tight and secure. A loose connection can cause electrical issues or prevent your car from starting. Have you checked the grounding points on your vehicle recently? Keeping them clean and tight is a small effort that pays off.
Common Mistakes To Avoid
- Connecting the negative cable directly to the battery before the positive cable is attached.
- Choosing a painted or rusty spot for grounding, which can block electrical flow.
- Ignoring sparks or noises when attaching cables—these are warning signs to stop and reassess.
- Using cables that are too short or worn out, which can cause poor contact.
Have you ever experienced a spark or felt unsure about your cable connections? Avoiding these common errors makes your jump-start or battery replacement smoother and safer.
Post-connection Safety Checks
After connecting the cables to your car battery, safety checks are crucial. These checks ensure the connection is stable and your vehicle will start properly. Skipping this step may cause electrical problems or damage. Take time to verify everything is in order before moving on.
Verifying Secure Connections
Check the battery terminals for tightness. Loose connections can cause sparks or fail to start the car. Wiggle the clamps gently. They should not move or slip off easily. Look for corrosion or dirt on the terminals. Clean them if needed with a wire brush.
Testing Battery And Vehicle
Turn on your vehicle’s ignition without starting the engine. Watch the dashboard lights. They should turn on normally without flickering. Start the engine and listen for unusual noises. The car should start smoothly. If the engine struggles, double-check the cable connections and battery health.
Handling Emergency Situations
If sparks appear or a burning smell occurs, stop immediately. Disconnect the cables carefully, starting with the negative terminal. Avoid touching both terminals at once. Keep a fire extinguisher nearby for safety. If unsure, call for professional help to prevent injury or damage.

Credit: www.jackery.com
Maintenance Tips For Battery Cables
Maintaining battery cables is key to a healthy car battery and reliable starts. Poor cable condition causes starting problems and electrical issues. Regular care extends cable life and ensures strong connections.
Cleaning And Corrosion Prevention
Clean battery cables regularly to remove dirt and corrosion. Use a mixture of baking soda and water to neutralize acid build-up. Apply the paste with a brush and scrub gently. Rinse with water and dry thoroughly before reconnecting. Use petroleum jelly or a special battery terminal protector to prevent future corrosion.
Regular Inspection Schedule
Check battery cables every few months for cracks, frays, or loose connections. Look for green or white powder on terminals, signs of corrosion. Tighten any loose clamps to keep cables secure. Early detection avoids sudden battery failure and costly repairs.
Replacing Old Cables
Replace cables if they show signs of wear, damage, or heavy corrosion. Use cables that match your vehicle’s specifications for voltage and length. Disconnect the negative cable first and then the positive when replacing. Secure new cables tightly to prevent movement and wear.
Frequently Asked Questions
Which Cable Connects First To A Car Battery?
Always connect the positive (red) cable first to the car battery. This reduces the risk of short circuits. Connecting positive first ensures a safer and more efficient battery installation process.
Why Connect Positive Cable Before Negative Cable?
Connecting the positive cable first prevents accidental grounding. It reduces sparks and electrical shocks. This order helps protect both the battery and the vehicle’s electrical system from damage.
Can I Connect The Negative Cable Before Positive?
No, connecting the negative cable first is unsafe. It increases the risk of short circuits. Always connect the positive cable first to avoid electrical hazards and protect your car’s battery.
What Happens If Cables Are Connected In Reverse Order?
Reversing cable connection can cause sparks and damage. It may short circuit the battery and harm vehicle electronics. Always follow the correct order: positive cable first, then negative.
Conclusion
Connecting the positive cable first keeps the process safe and clear. Always attach the red cable to the positive terminal. Then, connect the black cable to the negative terminal or a metal ground. This order helps prevent sparks and damage.
Remember to check your car’s manual for specific instructions. Taking these simple steps protects you and your vehicle. Stay careful and confident when handling car batteries. Safe connections lead to better battery performance and longer life.